Before you begin
Check out our general API overview to make sure you’re ready to get started with specific endpoints.
Note that only Advanced KDP customers and Klaviyo app partners can access and manage webhooks with our Webhooks API.
Klaviyo offers two types of webhooks:
-
Flow webhooks
A flow action that sends a custom, manually configured payload to an HTTP endpoint.
-
System webhooks
A notification with a predefined payload format triggered by specific events within Klaviyo, for example, an email being sent, an SMS being clicked, or a push notification being delivered.
Our Webhooks API specifically handles system webhook management, i.e., it allows you to forward Klaviyo events to external endpoints of your choosing. The Klaviyo events, or “topics” you can currently trigger off of include:
- Email events (e.g., Received email, Clicked email, Marked email as spam)
- SMS events (e.g., Sent SMS, Received SMS)
- Push notification events (e.g., Received Push, Bounced Push)
- Review events (e.g. Ready to Review, Submitted Review)
- Consent events (e.g. Subscribed to sms marketing, Unsubscribed from email marketing, etc.)
You can use the Get Webhook Topics endpoint to get a full list of topics. See our guide on Working with system webhooks to learn more.
Data model
A webhook can have the following:
-
idThe webhook id.
-
attributes-
nameThe webhook name.
-
descriptionThe description of the webhook.
-
endpoint_urlThe URL associated with the destination for the webhook request.
-
enabledA boolean indicating whether the webhook is enabled or disabled.
-
created_atThe date the webhook was created.
-
updated_atThe date the webhook was last updated.
-
-
relationshipsThis object contains related resources, i.e., webhook topics. Learn more about relationships.
-
webhook-topicsContains the webhook topic(s), e.g., a Sent SMS event.
Add scopes for webhooks
OAuth apps can use this API with an access token if they have been allowlisted by Klaviyo as part of this early release. Webhooks that are created by an OAuth application are scoped to the OAuth app that they're registered to. When a webhook is registered to an app, other apps can't view, modify, or delete it.
To use webhook endpoints, your OAuth app will need the following scopes:
webhooks:readwebhooks:write
When registering a new webhook, the topics subscribed will also be gated by additional API scopes. The current set of topics are event-based and will require events:read scopes. For example, if you send a request to create a webhook for SMS Sent events, your private key or bearer token will need the events:read scope (or else you will receive a 403 error).
Create your webhook subscription
Before creating your webhook subscription, review the following required fields for the API request body and what the response will look like. Then, review the sample code before making your request to Create Webhook.
Create Webhook request details
The following fields make up the Create Webhook request body:
-
Name (required)
How you’ll identify your webhook.
-
Endpoint URL (required)
The URL associated with the destination for the webhook request. The URL must:- Be a valid URL format.
- Start with
https:// - Not have a self-signed SSL certificate.
- Not redirect to another URL.
-
Topics (required)
The event(s) that trigger the webhook. -
Secret key (required)
Klaviyo utilizes HMAC-SHA256 to sign webhook requests with this secret key. This ensures that subscribers can verify the integrity and authenticity of data. It must be at least 16 characters in length. -
Description (optional)
A description for your webhook.
Get Webhook response details
All fields from the request body will be returned, except the secret key, and the endpoint URL will be truncated. The following additional field will be included in the response:
- Enabled
A boolean option indicating whether the webhook is enabled or disabled.
Create Webhook example request
Below is an example request to the Create Webhook endpoint:
{
  "data": {
    "type": "webhook",
    "attributes": {
        "name": "SMS Conversation Webhook",
        "endpoint_url": "https://www.example.com/klaviyo-events",
        "secret_key": "sEcReTkEy12345678",
        "description": "This webhook triggers sms sent and sms received events",
    },
    "relationships": {
      "webhook-topics": {
        "data": [
          {
            "type": "webhook-topic",
            "id": "event:klaviyo.sent_sms"
          },
          {
            "type": "webhook-topic",
            "id": "event:klaviyo.received_sms"
          }
        ]
      }
    }
  }
}
The 201 response to the above request would look something like this:
{
  "data": {
    "type": "webhook",
    "attributes": {
        "name": "SMS Conversation Webhook",
        "endpoint_url": "https://www.example.com/klaviyo-events",
        "enabled": true,
        "created_at": "2024-01-12T09:00:00Z",
        "updated_at": "2024-01-12T09:00:00Z"
    },
    "relationships": {
      "webhook-topics": {
        "data": [
          {
            "type": "webhook-topic",
            "id": "event:klaviyo.sent_sms"
          },
          {
            "type": "webhook-topic",
            "id": "event:klaviyo.received_sms"
          }
        ]
      }
    }
  }
}
Test your webhook
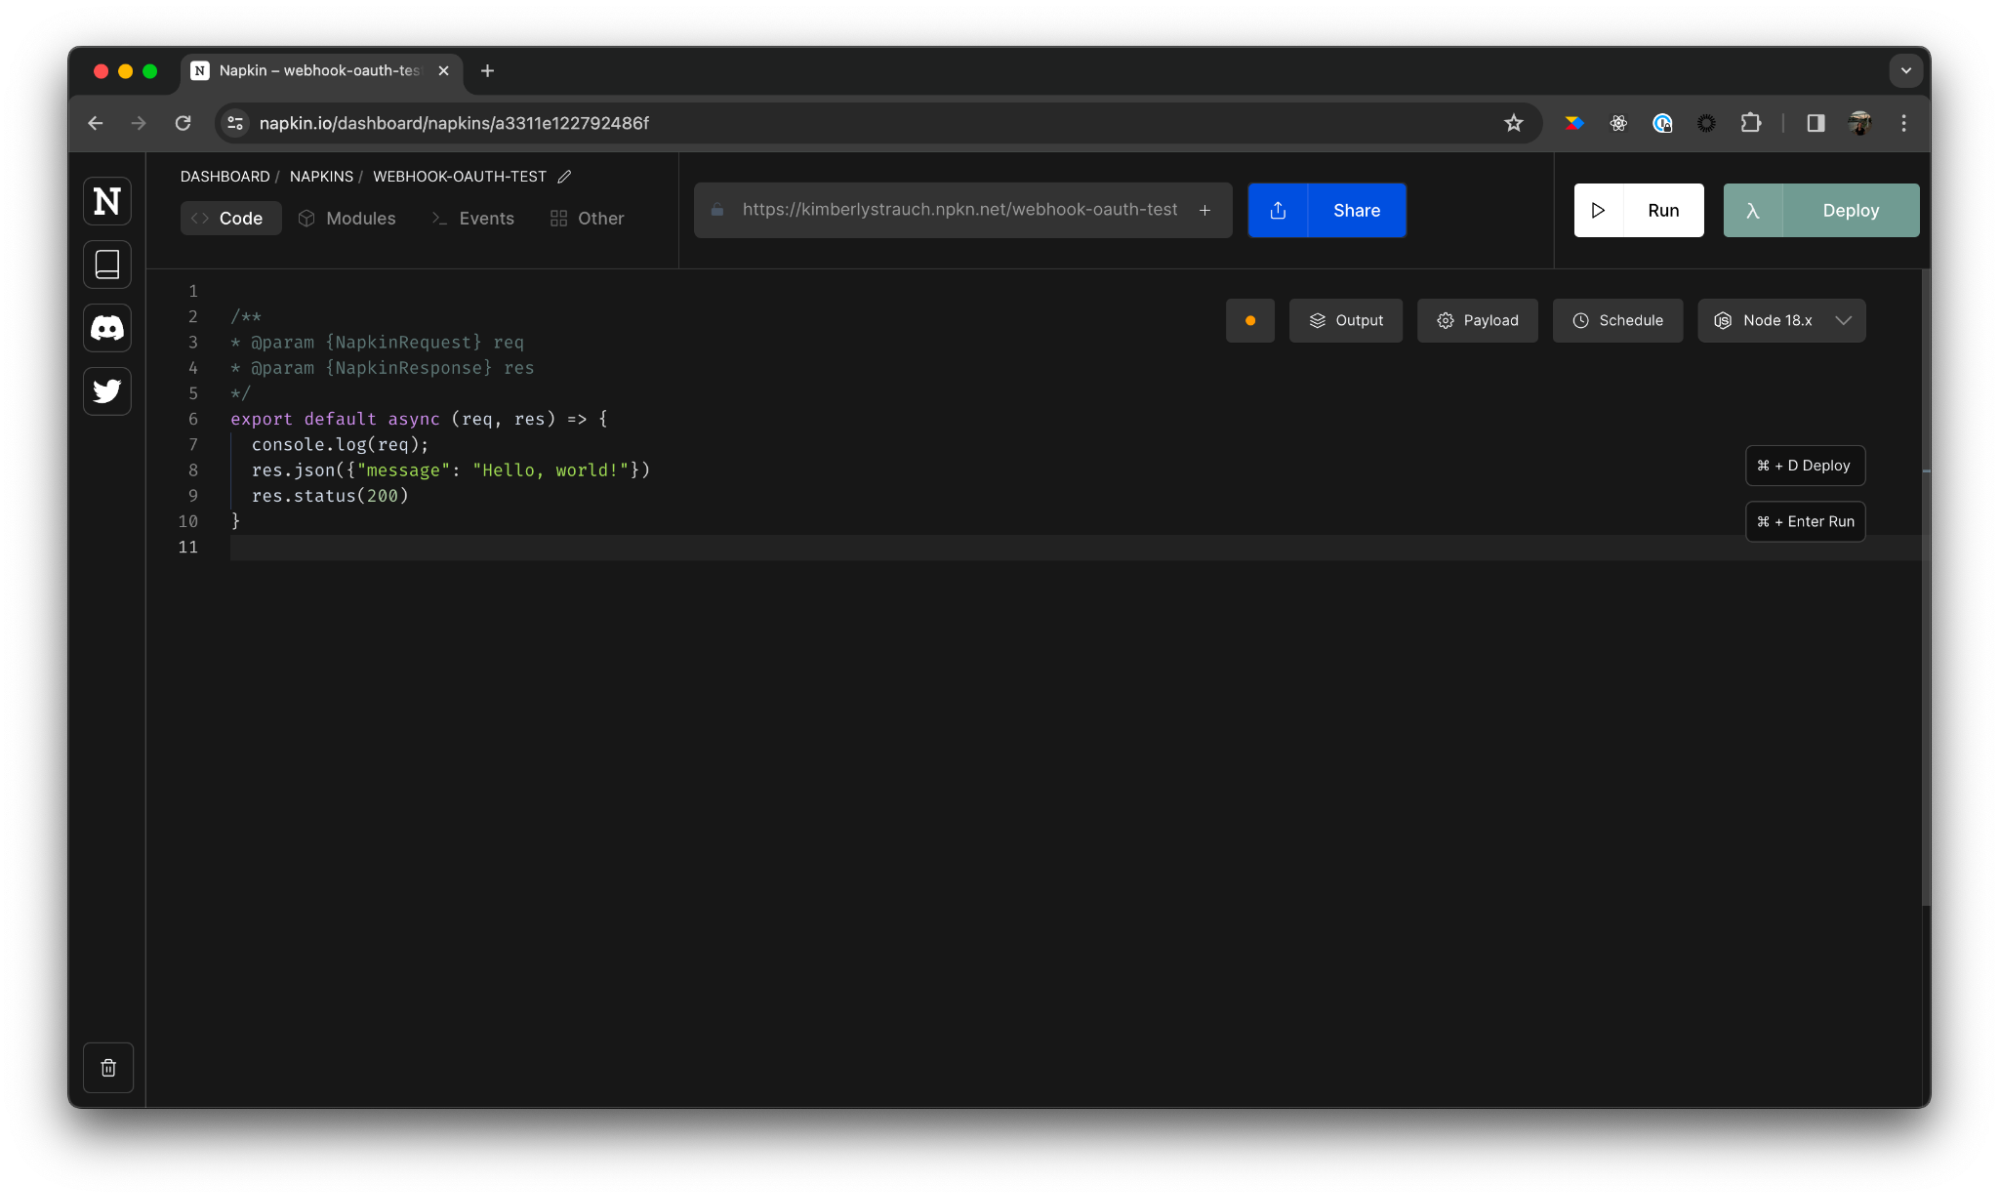
You can create a function in Napkin.io for easy testing. Napkin allows you to create and deploy serverless cloud functions instantly from within your browser.
Write a quick function for handling the webhook, click Deploy, and then copy the URL from Napkin to use as your endpoint_url.
When events related to the subscribed topics in the webhook occur in the account that has subscribed (e.g., an SMS is sent to a Klaviyo sending number and the webhook includes the sms.sent topic) the webhook will be triggered and you’ll see the details in the Events tab in Napkin, as shown below:

Limitations
- It can take up to 3 minutes for a webhook to start forwarding events to the URL.
- Each Klaviyo account can have a maximum of 10 webhooks, whether created through the UI or API. There is no limit on the number of topics that a single webhook can utilize.
- A webhook created via OAuth won’t be visible in Klaviyo’s UI, and UI-created webhooks won’t be visible to API calls from OAuth apps.
- The
endpoint_urlwill be truncated when returned, as it may include sensitive contents.