Create a public OAuth app
Learn how to create a public OAuth app in Klaviyo.
You will learn
After completing this guide, you will be able to create an app in Klaviyo. You’ll also explore example implementations to help you get started creating your app.
Public apps that can be installed from Klaviyo’s App Marketplace require authentication via OAuth. When a user installs your app on their Klaviyo account, your app receives permission to make API calls to their account using an OAuth access token.
Note that only owner, admin, and manager roles can create OAuth apps in Klaviyo. Learn more about user management and privileges.
Create an app
-
Navigate to the Manage apps page.
-
Select Create app to create your new application.

-
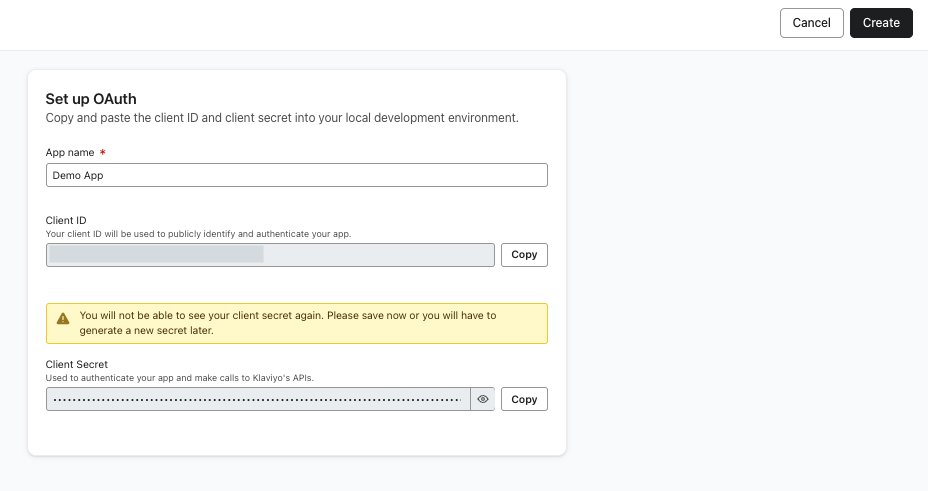
Name your application. Then, securely save your client secret and client ID. You won’t be able to view your client secret again, although you can generate a new one later. When you're done, click Create.
-
After creating your app, you should get a confirmation page with help guides for submitting your app to be listed on Klaviyo's App Marketplace. Click Continue to continue setting up your OAuth app.
-
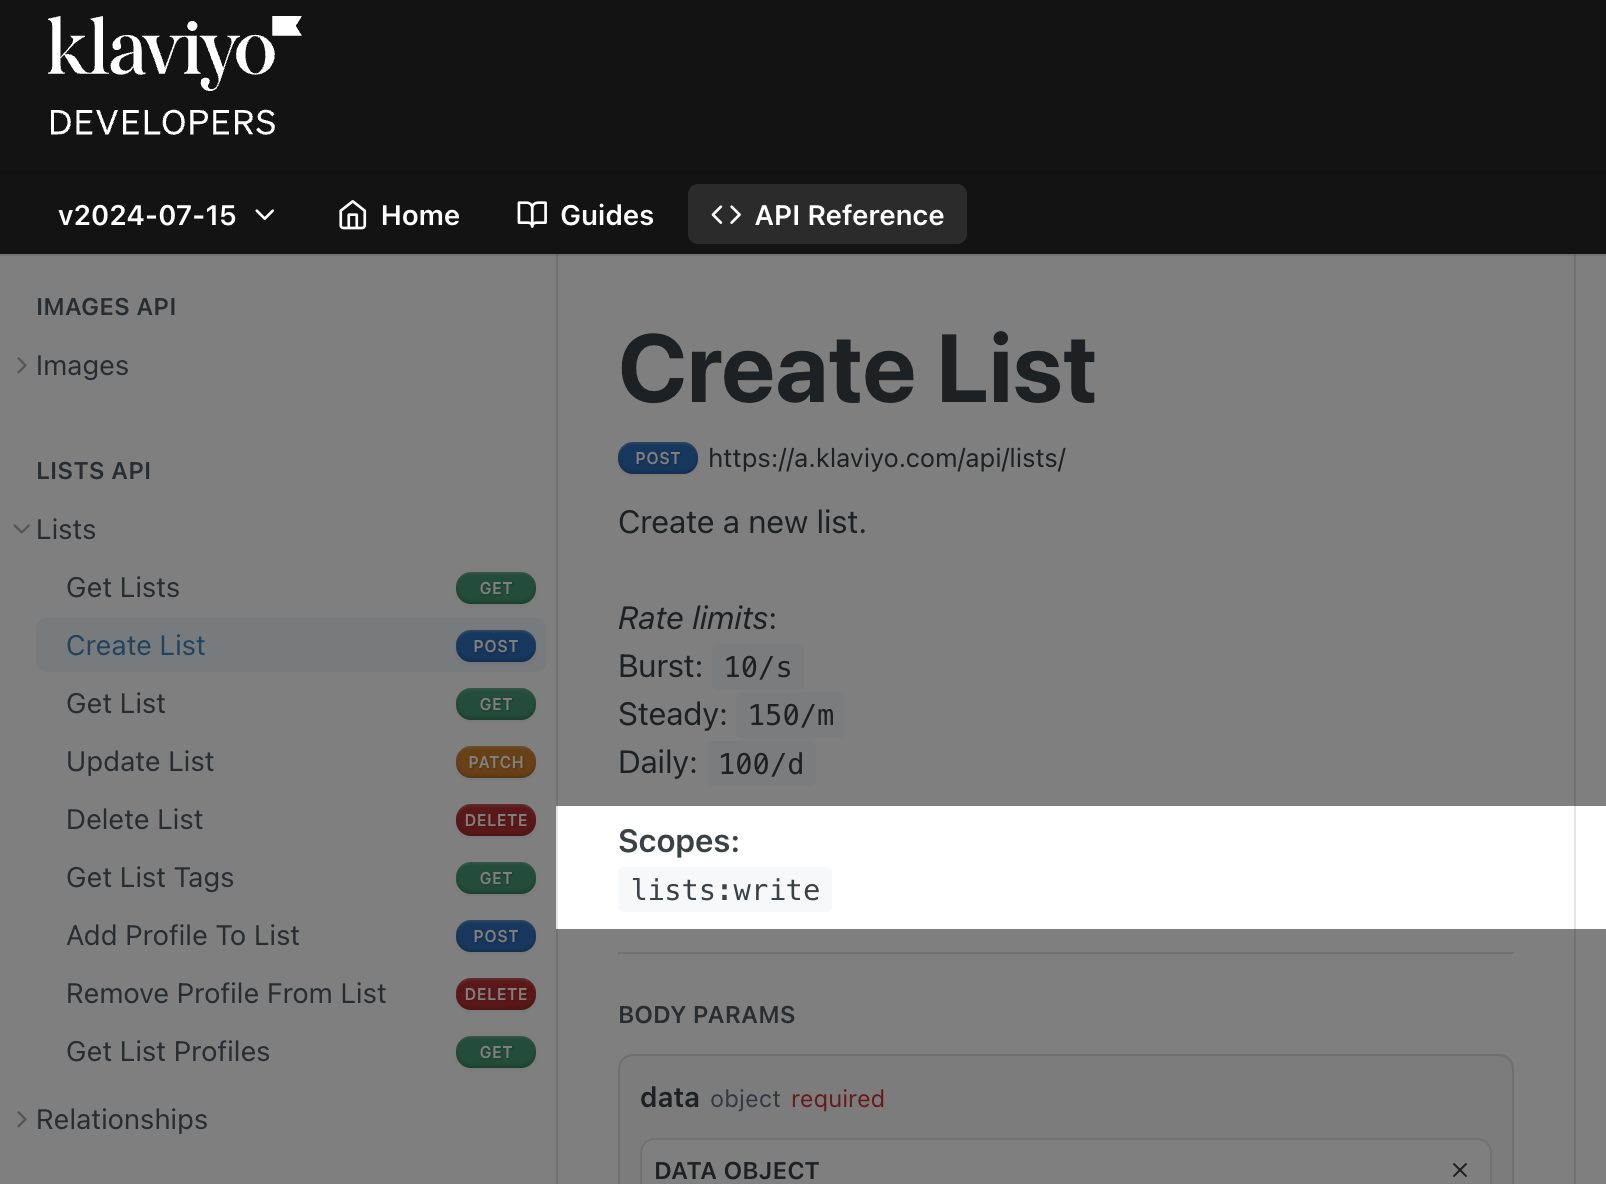
Pinpoint which scopes your app uses and set them using a space-separated list. To find out which scopes your app uses, visit the API reference documentation as shown below. Include all scopes that you will need for your OAuth authorization requests. You can consult the full list of available scopes, if needed.
In order for your app to meet our app listing requirements, you must use the least permissive scope set possible. Do not request more scopes than necessary.
Your list of scopes should be formatted like the following example:
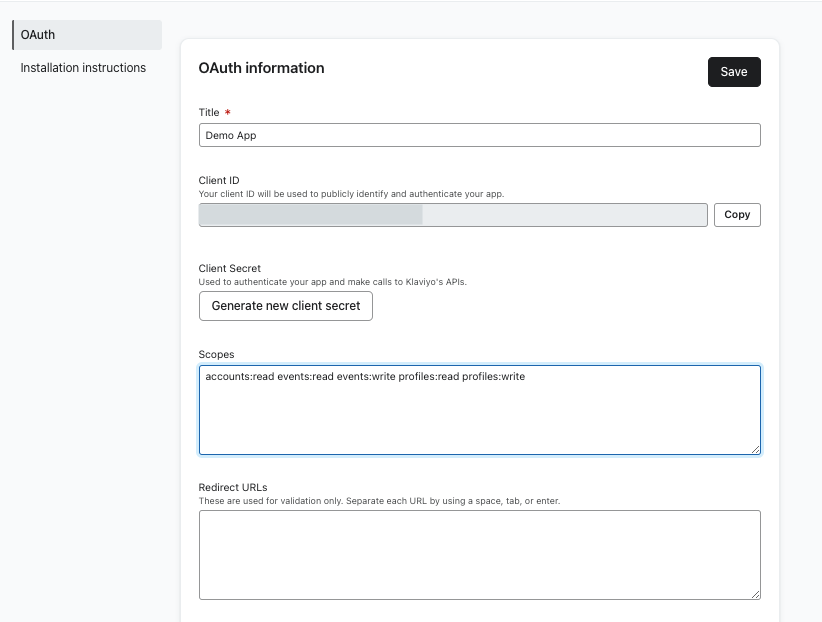
Note that
accounts:readis required by default and must remain in your scopes list.
- Edit your Redirect URLs (known as Redirect URIs in OAuth). These are the URLs that you have allowlisted Klaviyo to redirect users to after authorizing your app. For more than one redirect URL, separate each with a space, tab, or enter.
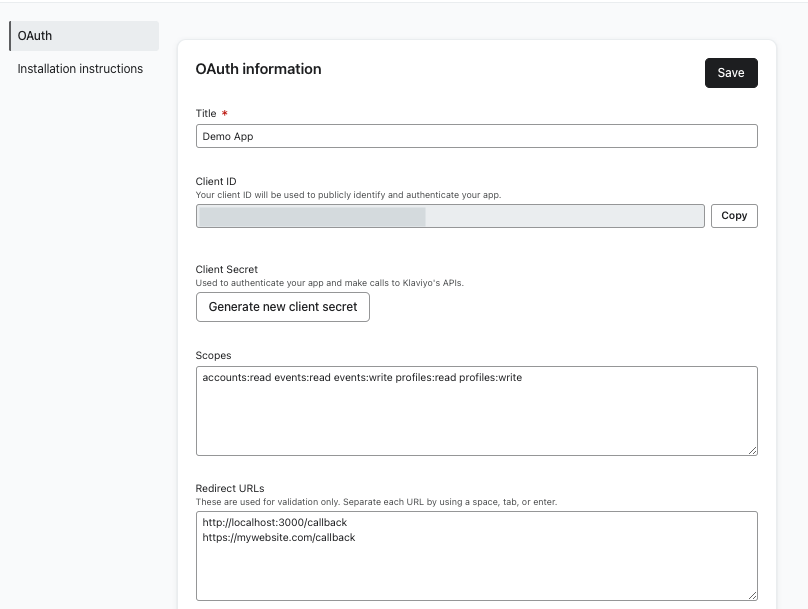
When you have finished setting your scopes and redirect URLs, click Save in the top right to save your changes.
OAuth example apps
If this is your first time using OAuth with Klaviyo's APIs, we recommend checking out our OAuth example apps on GitHub. We designed these apps to help you get started setting up OAuth and making calls with our server-side APIs:
- Example OAuth App - Pet Party Planner
A Next.js app that uses Klaviyo and a separate database to plan events and store attendee information. - Klaviyo’s Node Example Integration
An Express app that shows the basics of making an OAuth integration with Klaviyo.
Note that the example apps provided above are not designed to be used as scaffolding for your app. You may reference them as educational resources for better understanding the OAuth flow.
In addition to our OAuth app examples, check out our Javascript and Python code examples (referenced in the Make API calls using OAuth guide linked below).
Next steps
OAuth is required for your app to be considered for Klaviyo’s App Marketplace. Follow our guide on making API calls using OAuth.
Additional resources
Updated 12 months ago