Add a custom action to a flow
Execute pre-build or custom Python and Node.js action in flows with custom actions.
Adding a custom action to a flow is a gated feature. To have access, you must have at least 400,000 active profiles in Klaviyo.
You will learn
Learn how to add a custom action to a flow in Klaviyo that executes custom Python or Node.js code. Custom actions allow you to move data and build a personalized experience for your business.
Before you begin
Custom actions require custom development and experience with either Python or Node.js. Klaviyo’s support team is unable to offer hands-on assistance. If you are not a developer, consider reaching out to a Klaviyo Partner for assistance.
Custom action use cases
Example use cases for custom actions include:
- Normalizing Placed Order values across storefronts that use different currencies.
- Mark coupons as used once they are redeemed in an order.
- Get weather information to use in personalizing content based on users location.
- Modifying an event payload and forwarding to an external webhook endpoint.
- Saving parts of an event payload as customer profile properties.
- Using GPT-3 to generate personalized text that thanks a customer for their order.
- Setting a customer's birthdate on their profile after they sign up.
- Sending a Slack or Microsoft Teams notification in response to a given event.
Add a custom action to your flow
- Navigate to a specific flow.
- In the flow builder, drag and drop a Custom Action into the flow.
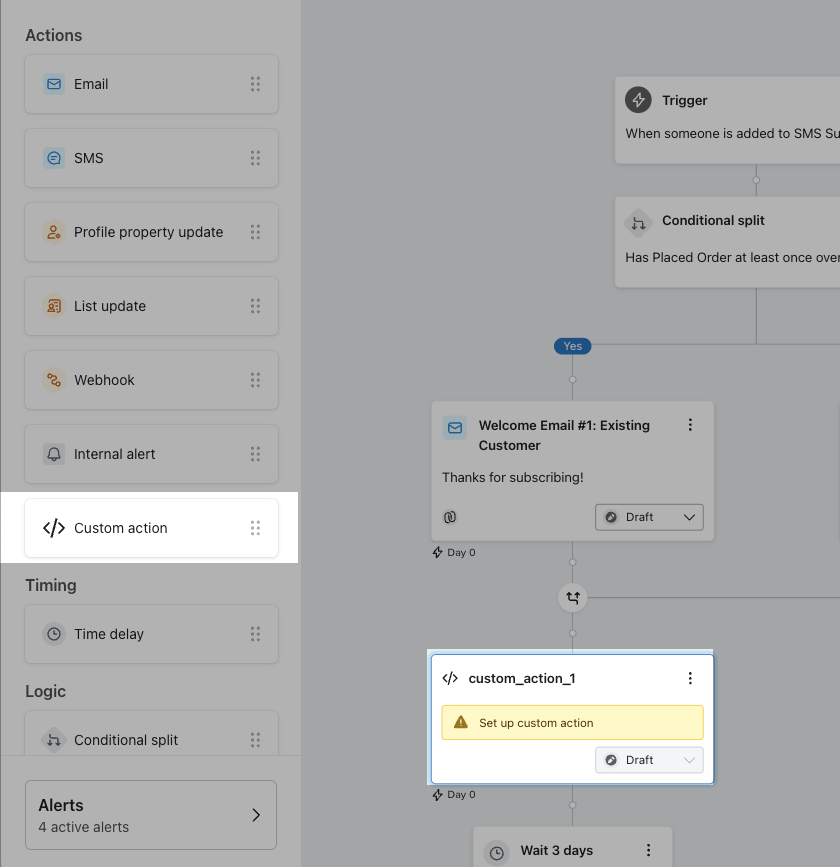
- In the sidebar that appears, select either Python or Node.js.
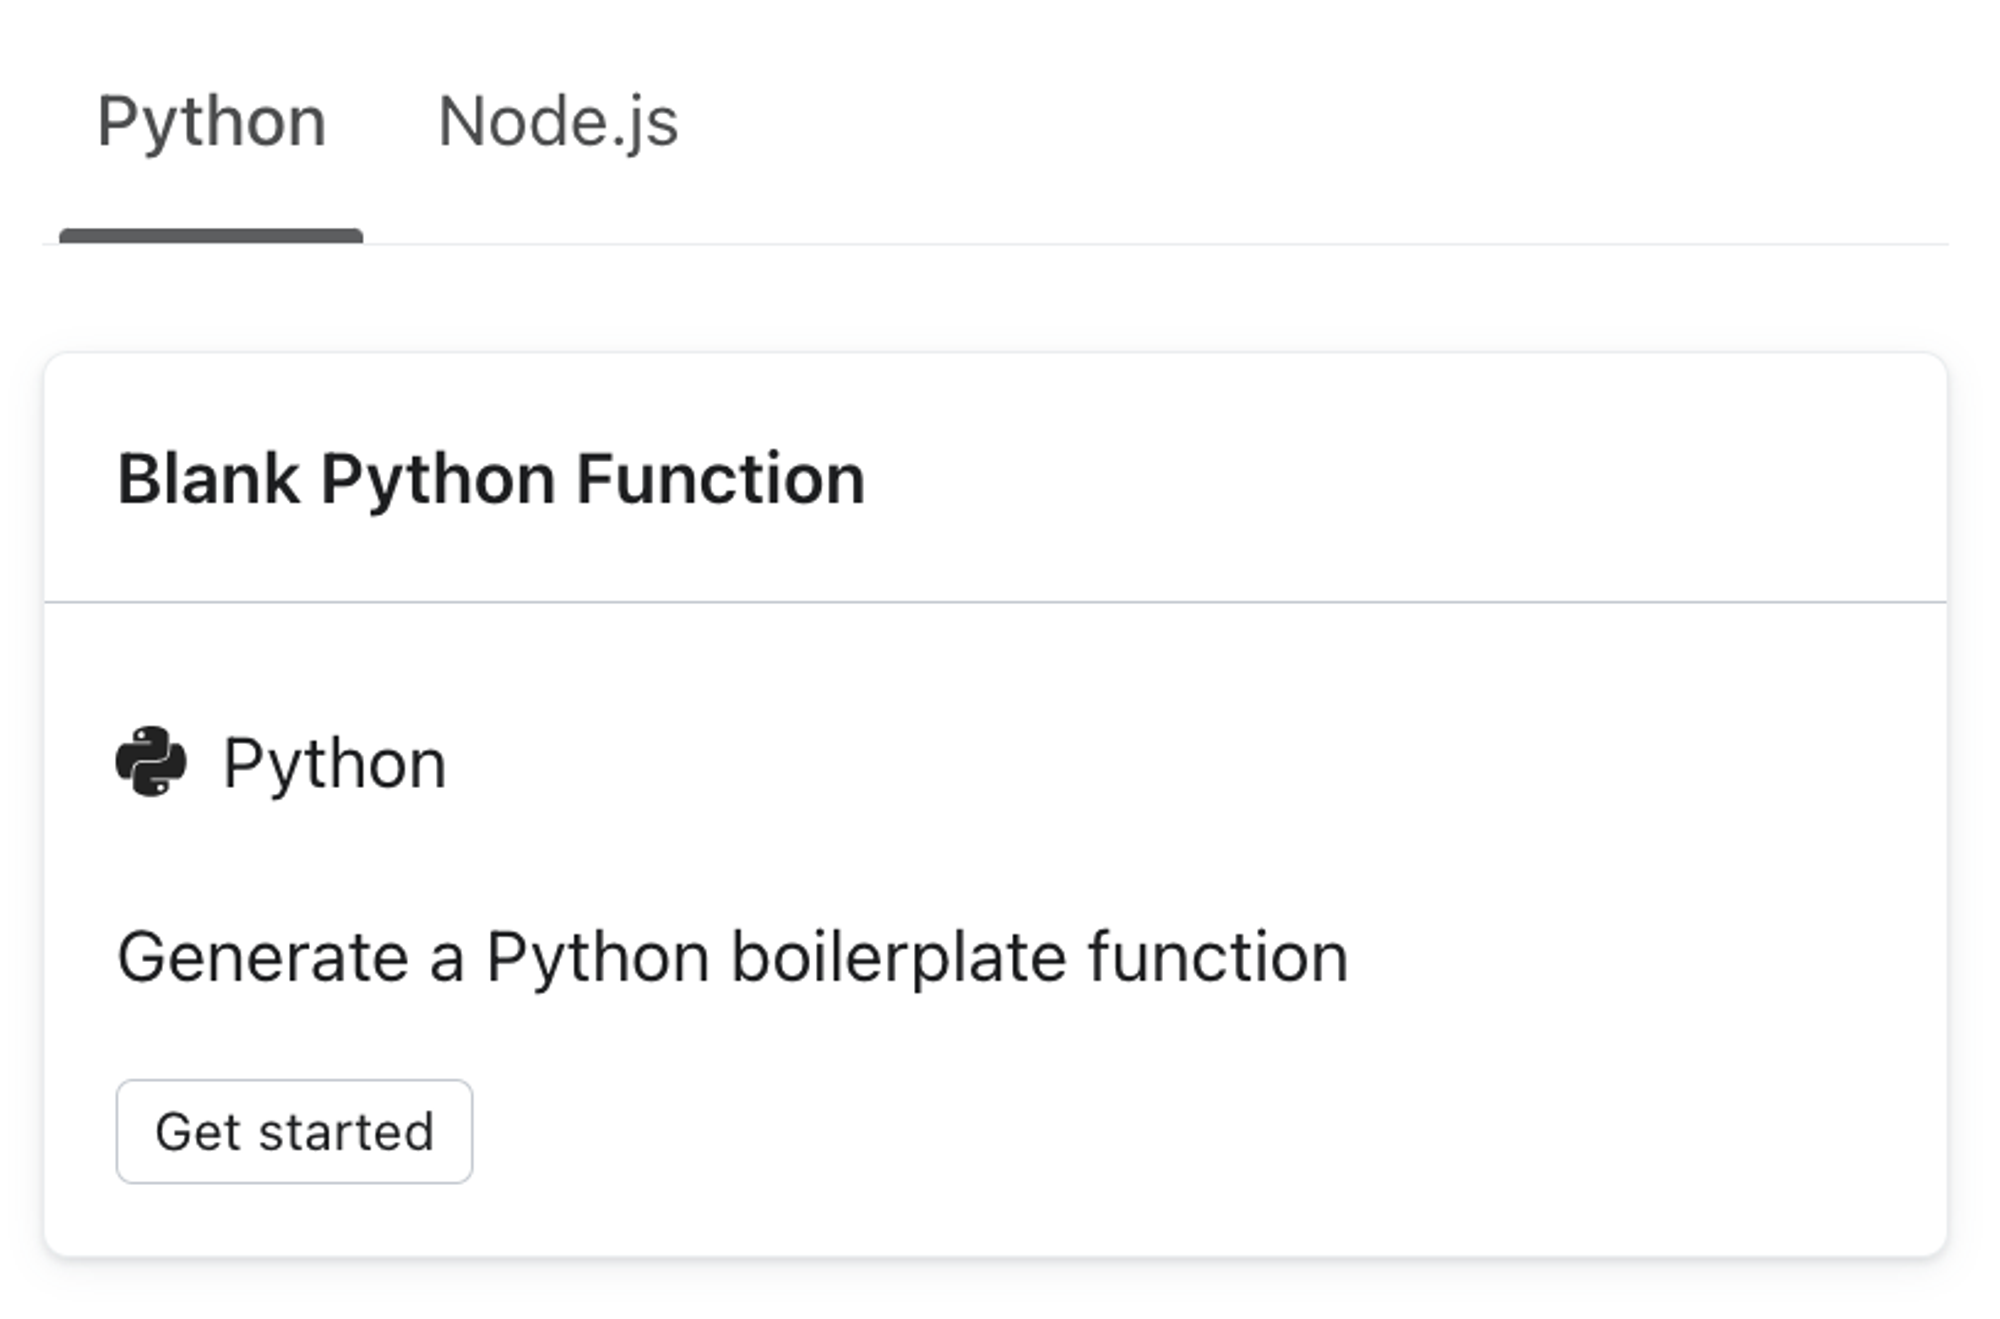
- Click on a prebuilt action or a blank Python or Node.js action.
If you need help designing an action from scratch, view a prebuilt action as an example. Each example includes a Readme section explaining the action.
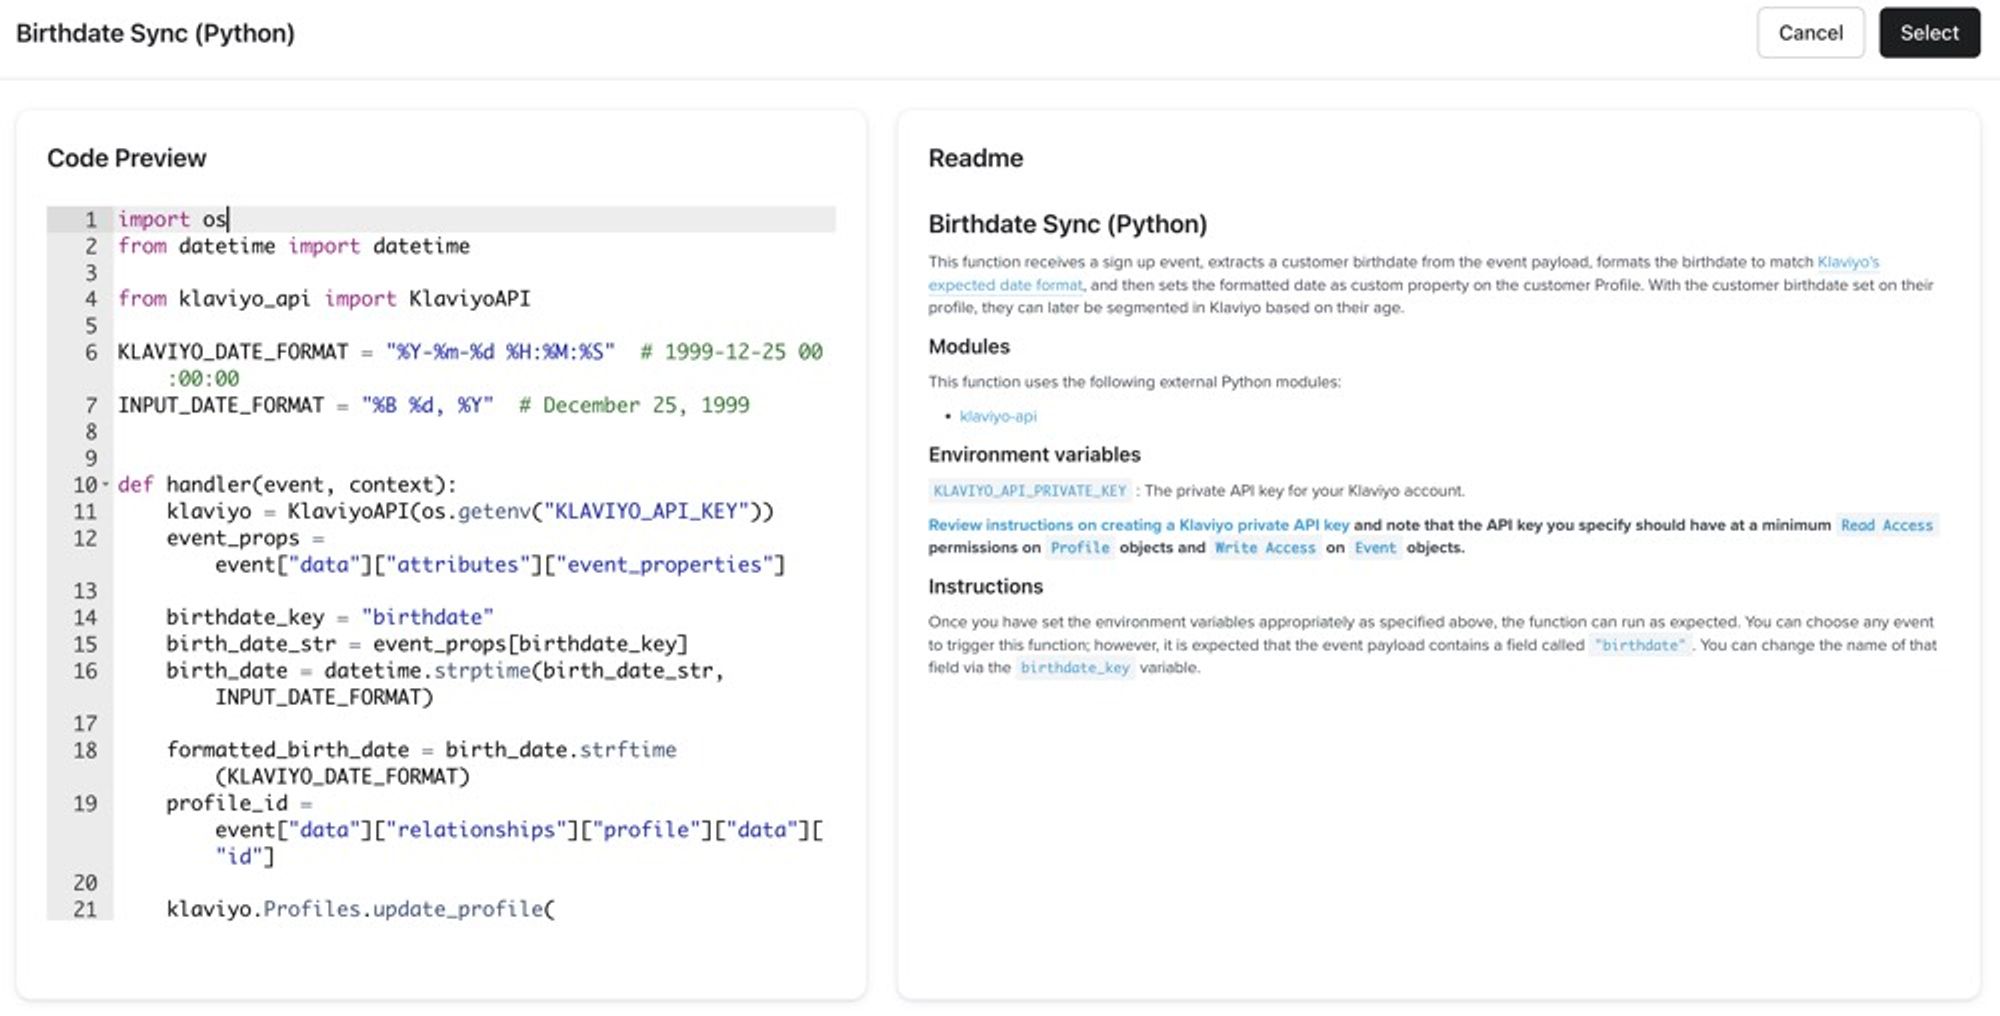
- In the modal showing the preview, click Select. After selecting an action, you will be brought to an interface with the following tabs:
- Editor
- Test output
- Logs
- Needs review
Read the sections below for information on each tab.
Granting permissions to custom actions
The first time you create a new code function you will be asked to authenticate the Code OAuth application. This will allow the code functions you write to access data in your Klaviyo account on your behalf. Once you’ve granted Code access, you will be brought to the Code editor.
Editor
The Editor tab contains 3 sub-tabs:
- Code
The code tab has an editor where you can write Python or Javascript code. - Modules
Modules are 3rd party packages that add functionality to your functions. - Environment Variables
Environment variables are the key-value pairs that your function accesses when it runs. - Output
Add up to 5 outputs that can be referenced by downstream actions in your flow.
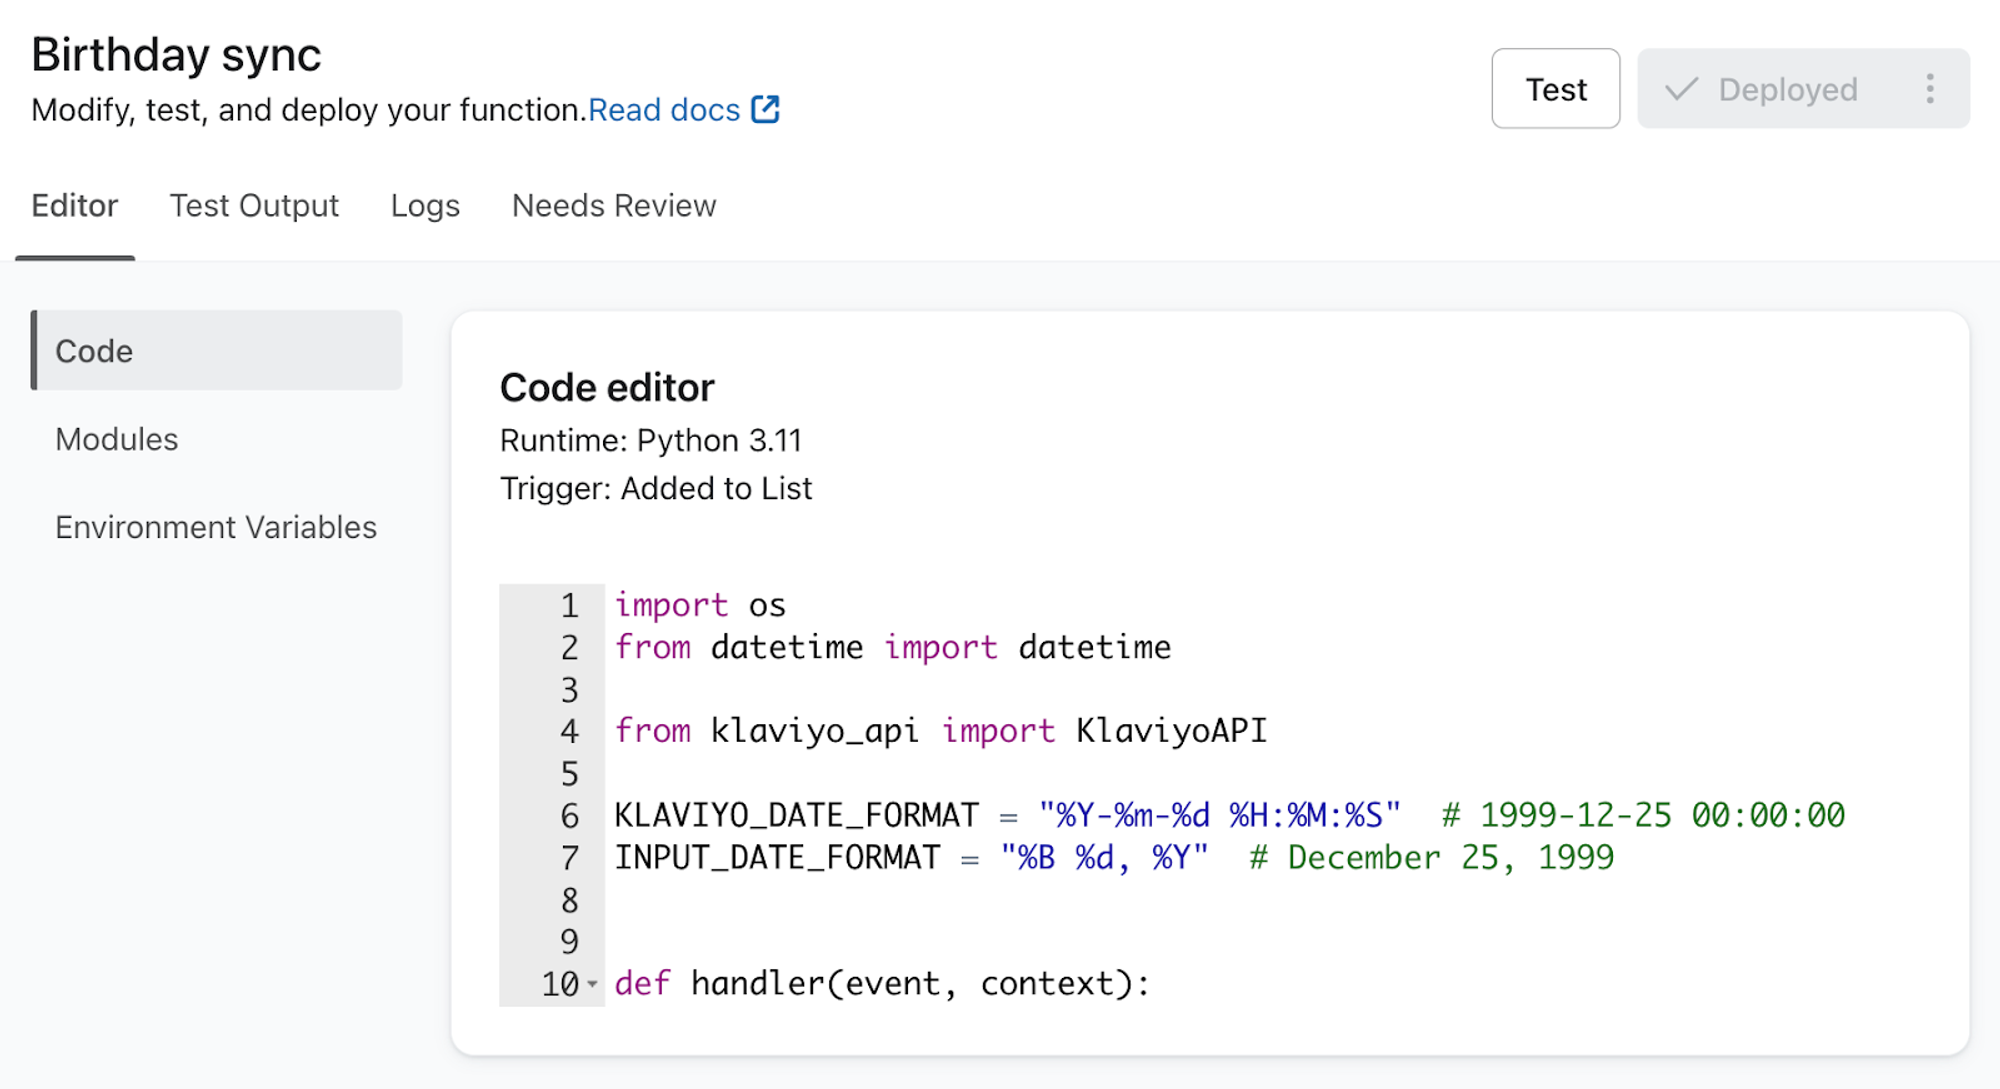
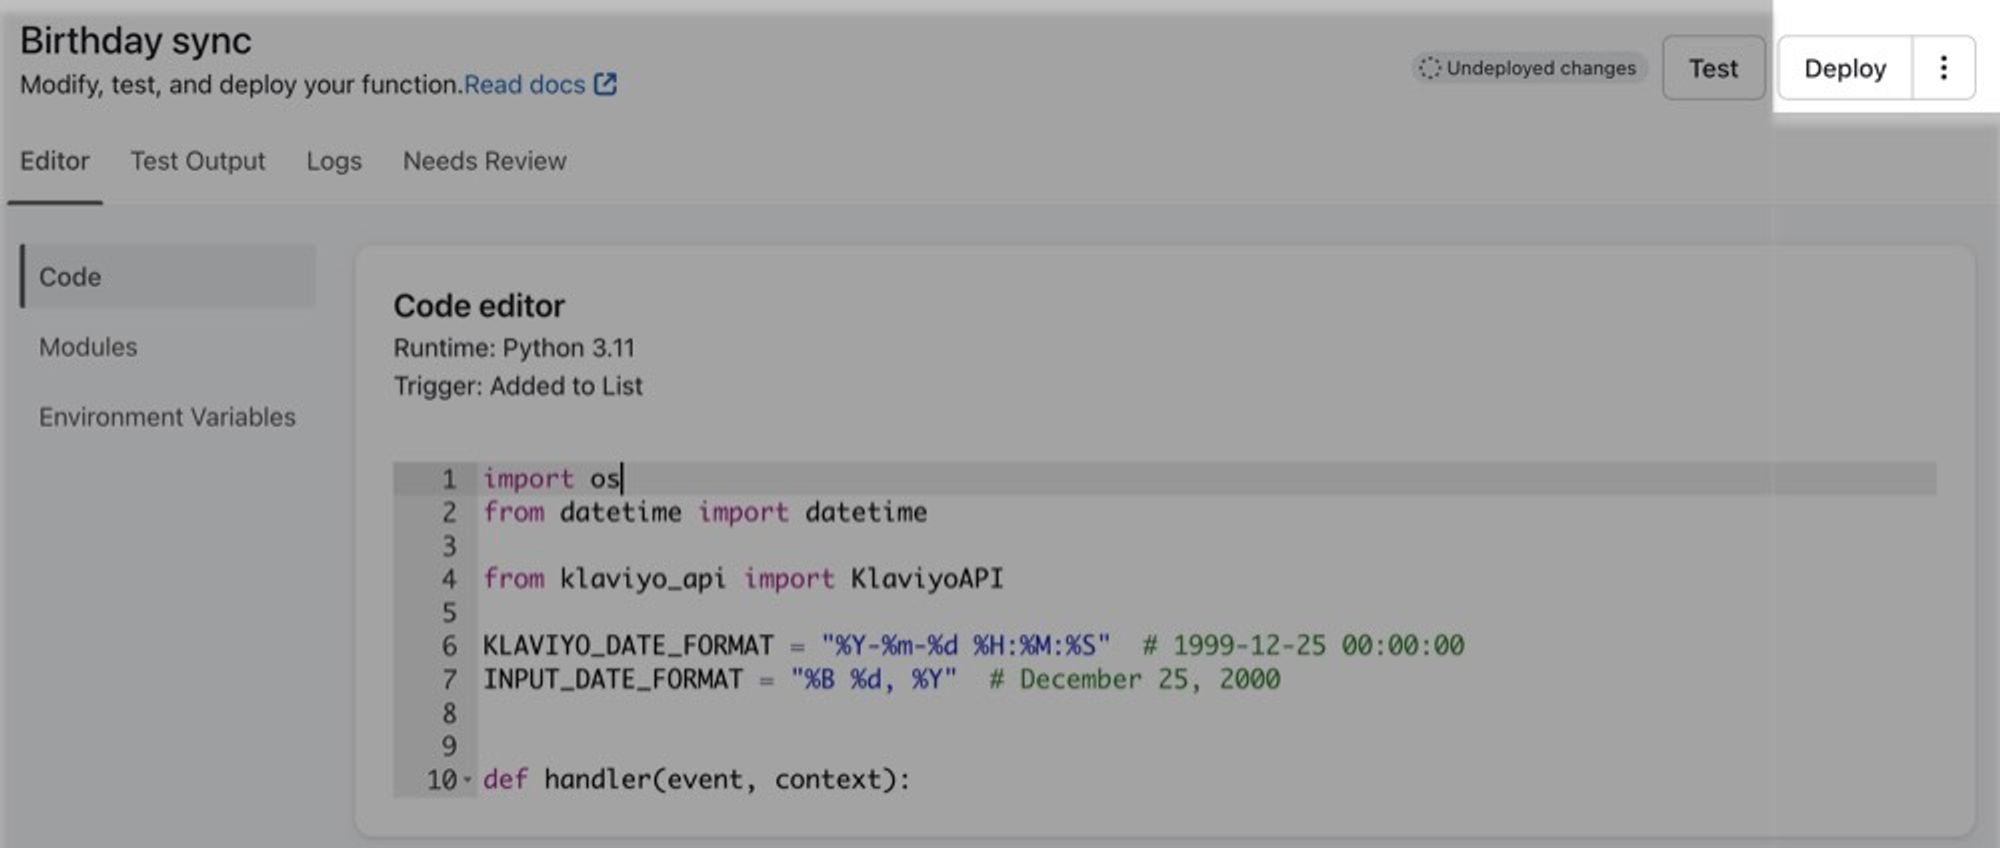
Code
In the Code tab, you’ll see an editor you can use to write Python or Node.js functions that are executed in response to the selected topic.
Writing function code
In order for Klaviyo to execute the code you write, you need to wrap it in a function named handler that accepts 3 parameters:
event
Consists of the event data associated with the triggering event in JSON:API format. If the trigger is non-event based (e.g., Added To List), then the value of this parameter will beNoneornulldepending on the language.profile
The JSON:API profile object associated with the current evaluation. The schema of the profile object matches the profile object returned by the Klaviyo API.context
Contains additional metadata about the function execution
In Python, defining the
handleris all that’s needed, but with Node.js, you must alsoexportthe function so that Klaviyo can access it. In Node.js, it’s good practice to declare your handler function asasync, so that you can await Promises inside it.
The klaviyo module
klaviyo moduleAll functions come with a custom klaviyo package pre-installed into your code environment. The klaviyo module allows your functions to access the data in your Klaviyo account without needing to supply any credentials, such as an API key.
The API of the klaviyo module depends on whether your code is written in Python or Javascript.
Python klaviyo module
klaviyo moduleThe API of the klaviyo module is the same as the klaviyo SDK object you would normally instantiate yourself using the klaviyo-api Python module. You can think of the klaviyo module as a pre-instantiated klaviyo SDK client.
For instance, in a traditional workflow you would first instantiate a new Klaviyo SDK client by passing an API key to the constructor, and then use the resulting SDK object.
from klaviyo_api import KlaviyoAPI
import os
def handler(event, profile, context):
  klaviyo = KlaviyoAPI(api_key=os.getenv("KLAVIYO_API_KEY"))
  print(klaviyo.Metrics.get_metrics())
With Code, you just need to import the klaviyo object and authentication is handled for you.
import klaviyo

def handler(event, profile, context):
  print(klaviyo.Metrics.get_metrics())
Available API objects and their methods can be found at https://pypi.org/project/klaviyo-api.
Javascript klaviyo module
klaviyo moduleWhen using the built-in klaviyo module from your Javascript functions, just import the specific Klaviyo features you want to access using curly brace syntax from the klaviyo module. Then use them as you normally would an API object using the klaviyo-api JS module.
import { Metrics } from 'klaviyo';
export default async (event, profile, context) => {
  console.log(await Metrics.getMetrics())
}
Available API objects and their methods can be found at https://www.npmjs.com/package/klaviyo-api.
External modules
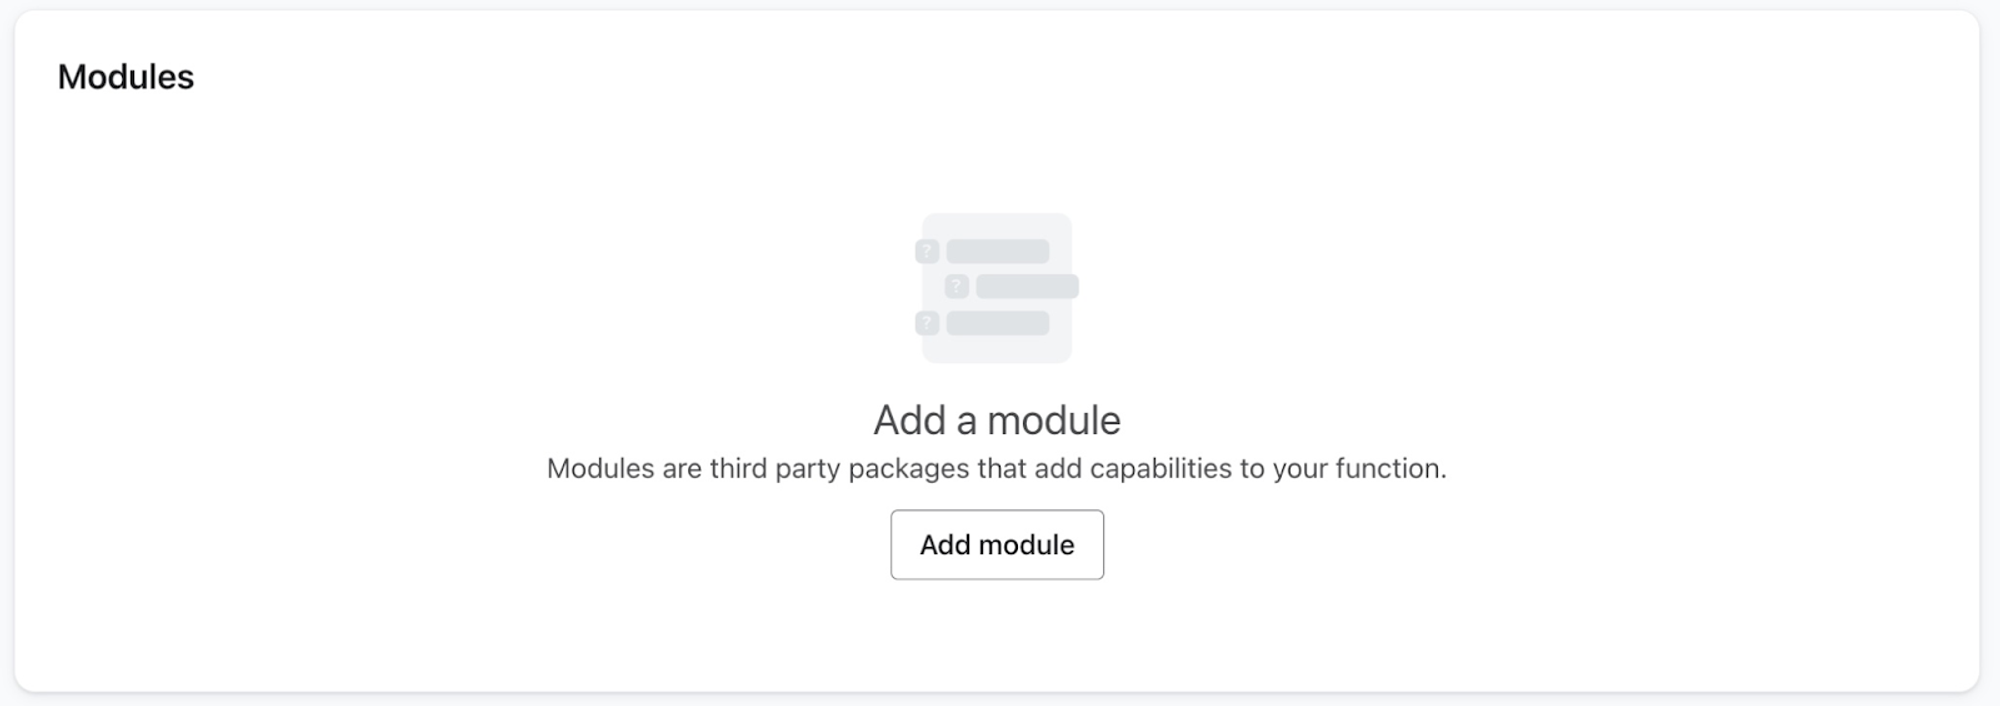
In the Modules tab, you can select from the most popular prebuilt modules (i.e., 3rd-party packages that add capabilities to your functions).
To add an external module to use in your code:
- Click Add module.
- On the modal that appears, search and select the module you’d like to add:
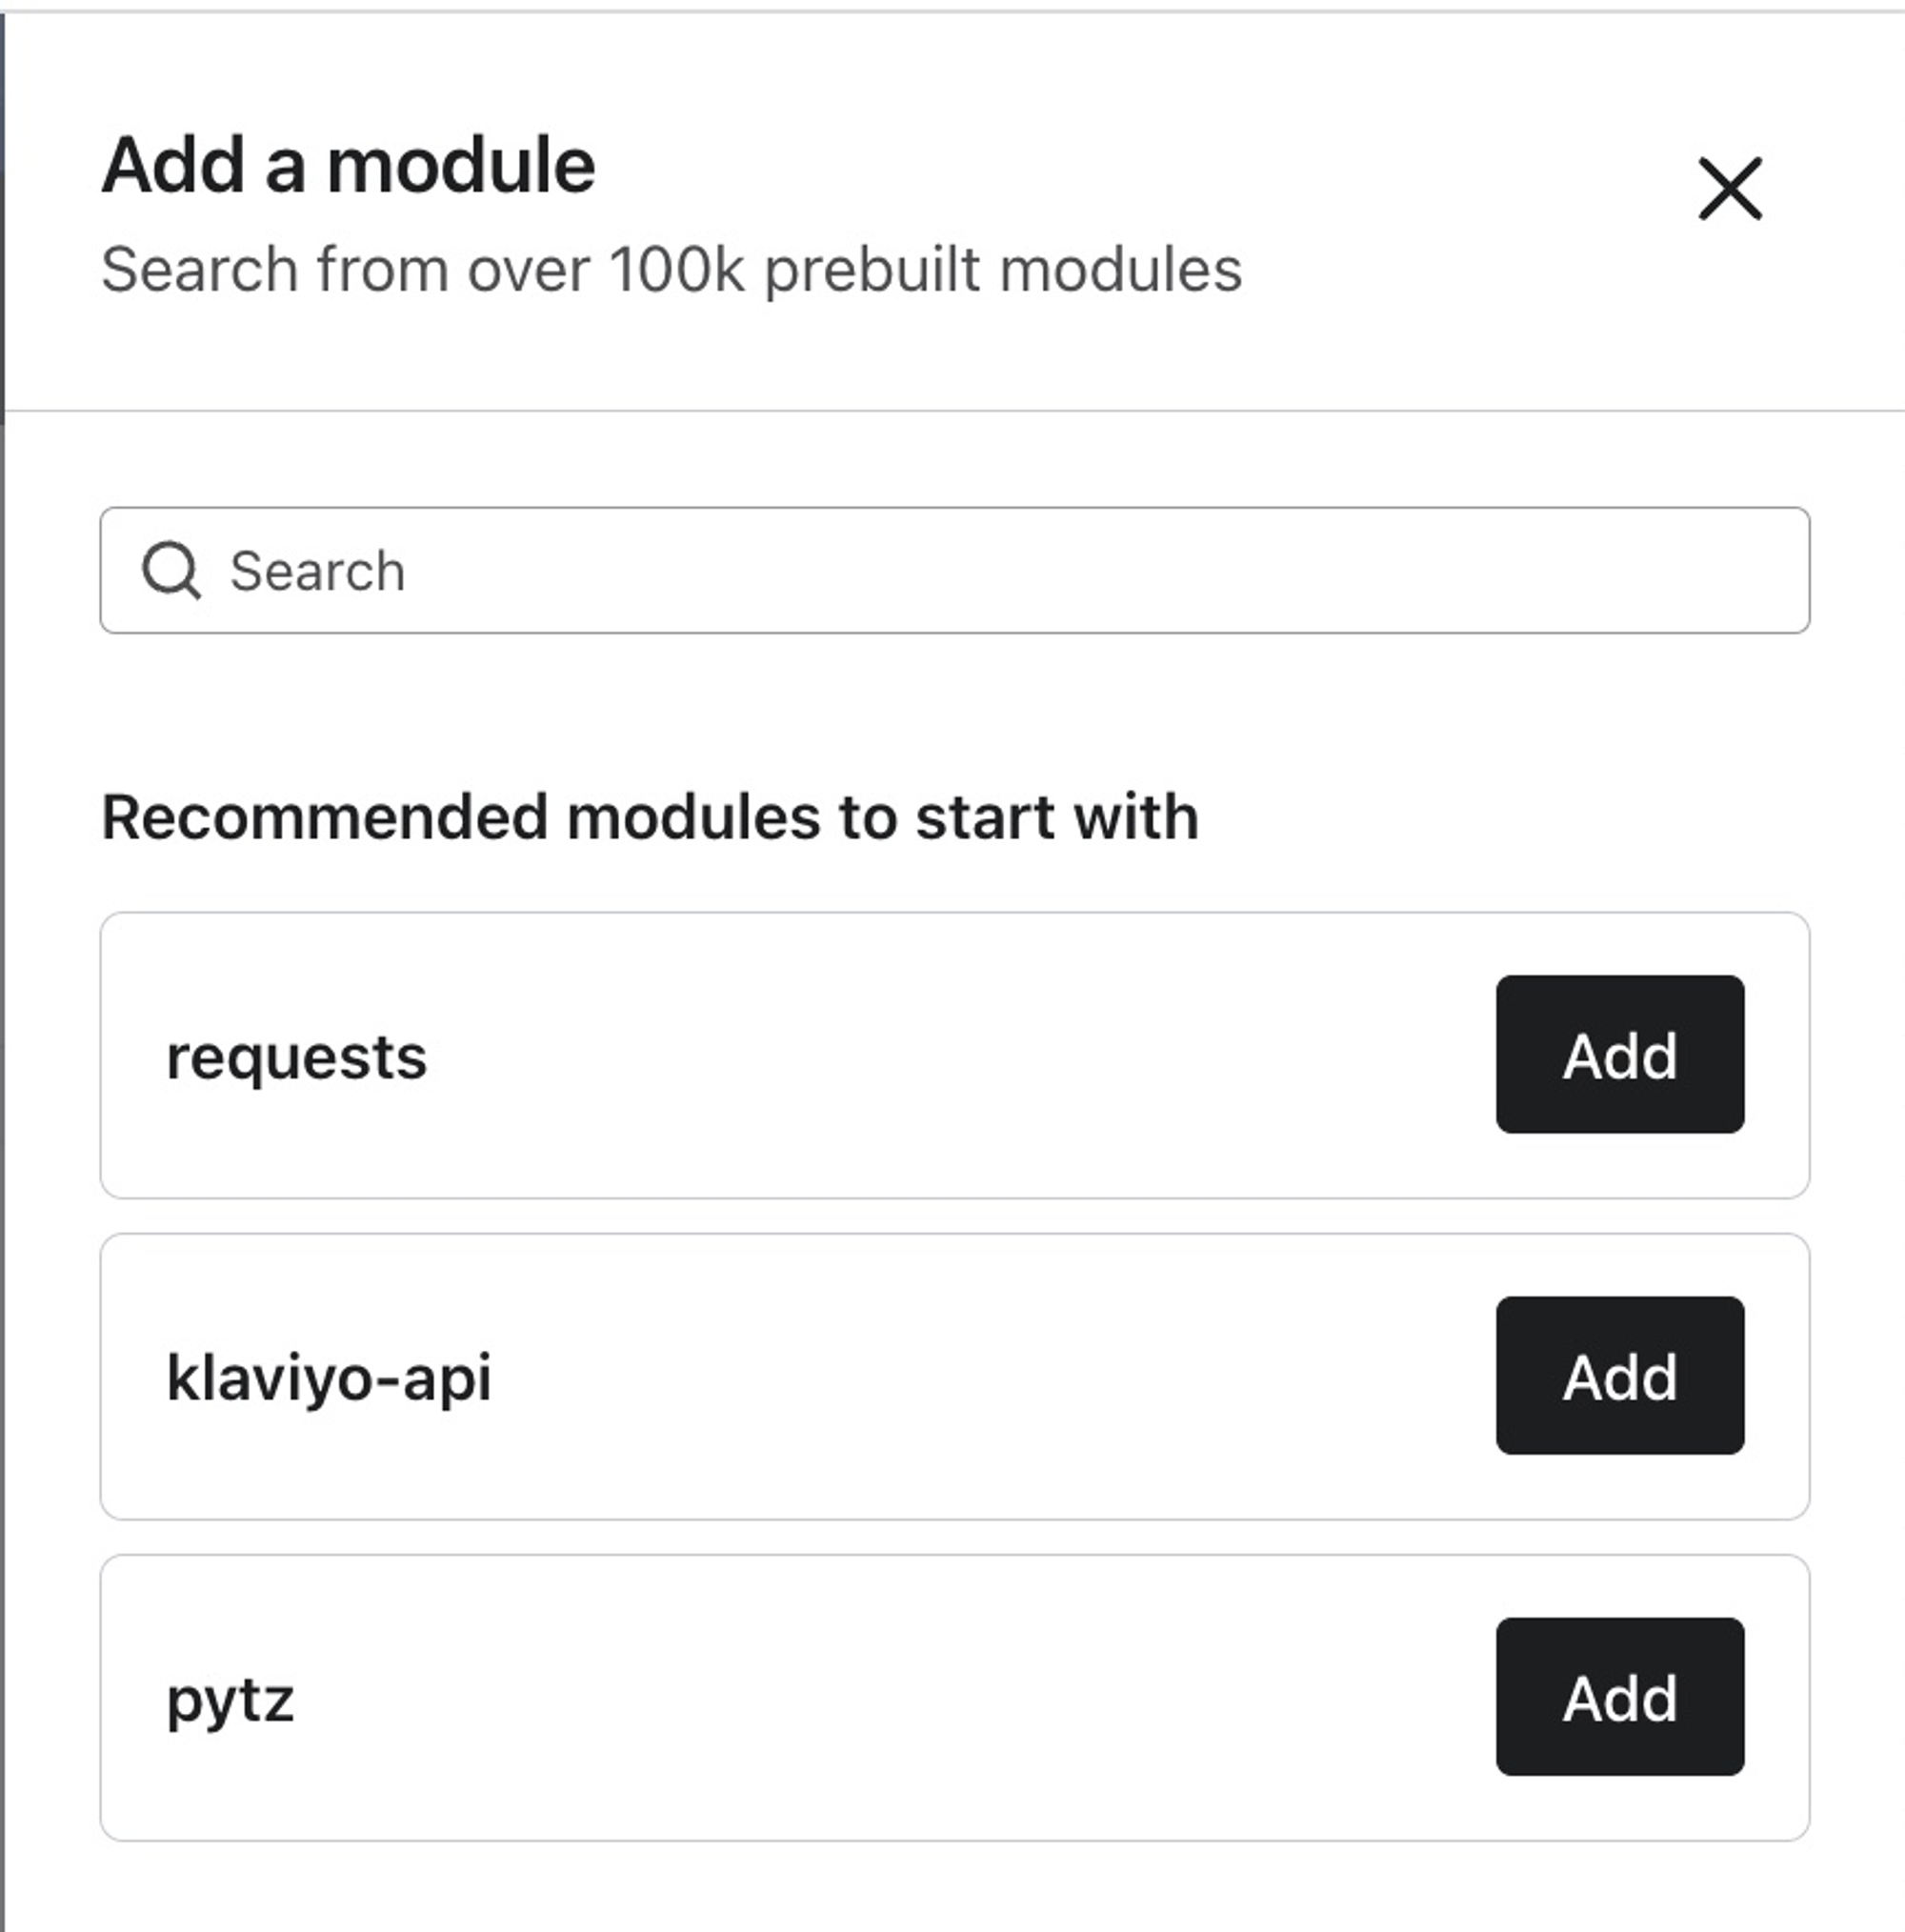
Once added, you can use the module with the code you write in Klaviyo.
Refer to the external module’s native documentation for information regarding how to use it.
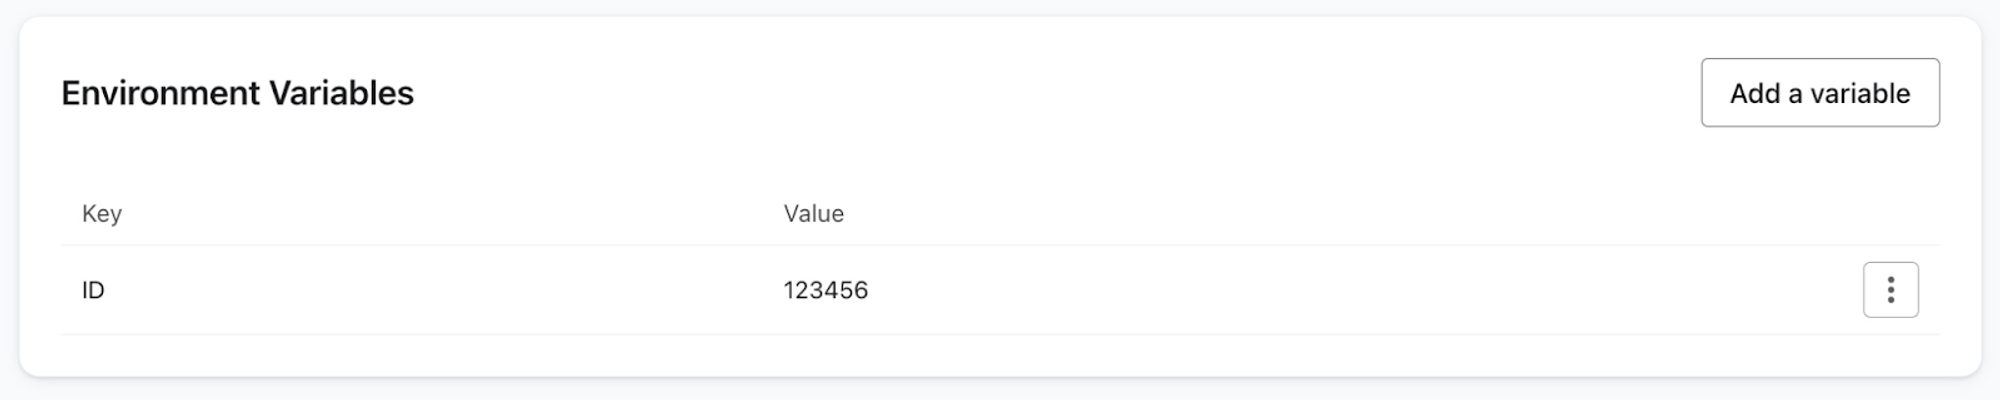
Environment variables
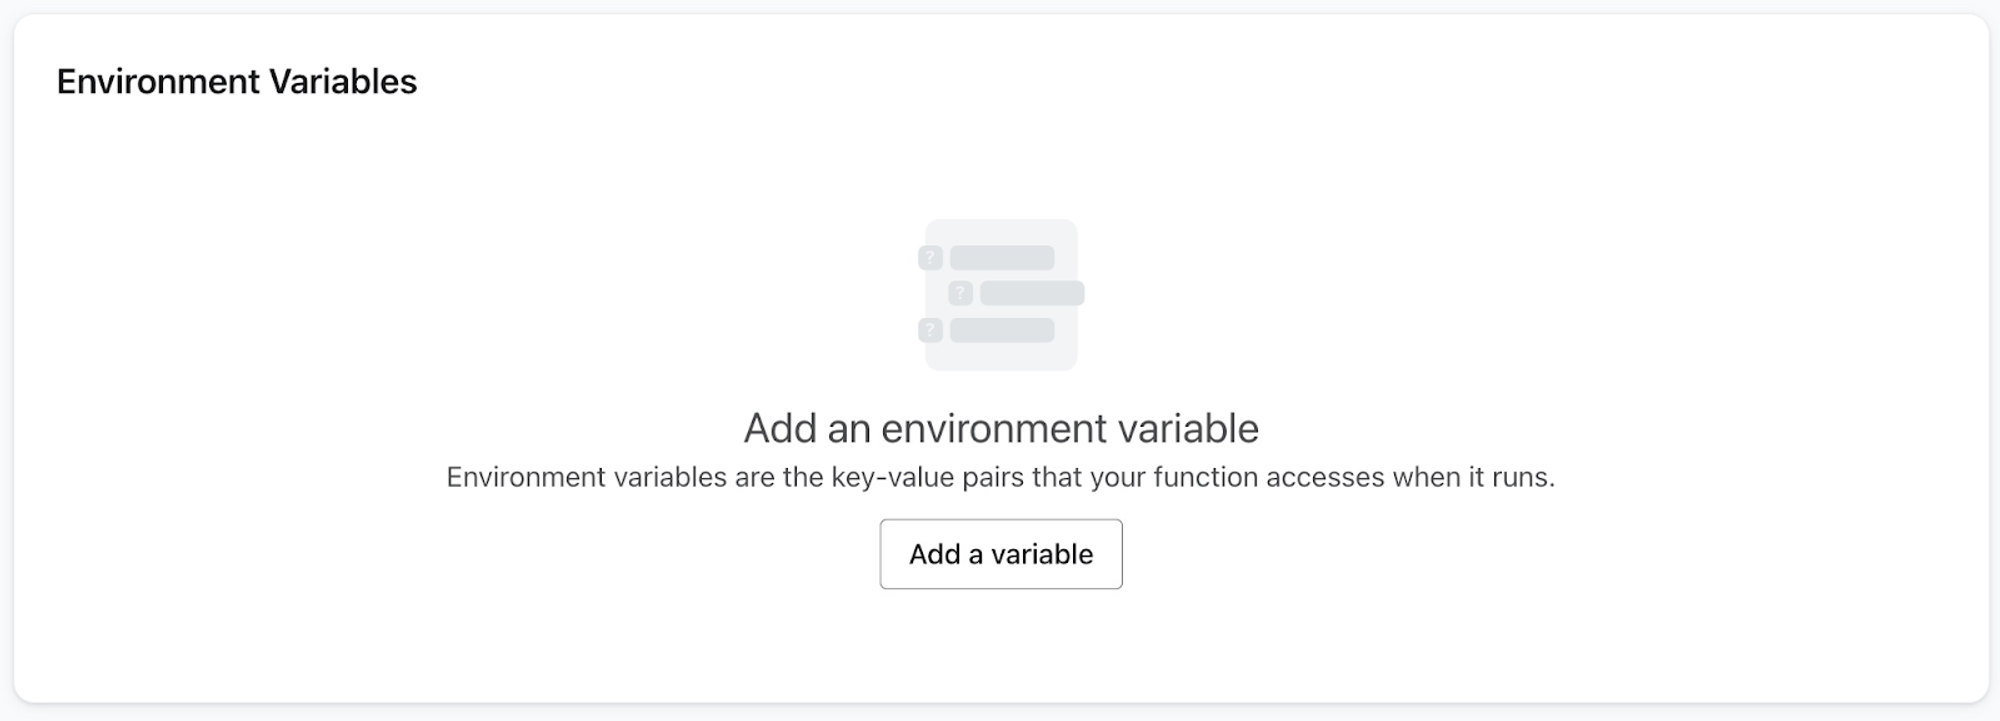
The Environment Variables tab allows you to set key-value pairs that your code in Klaviyo can reference when it runs. These can be used to store information like credentials and secret keys so your functions can access them as they run.
To add an environment variable:
- Click Add a variable.
- On the modal that appears, you can set a key-value pair for your environment variable.
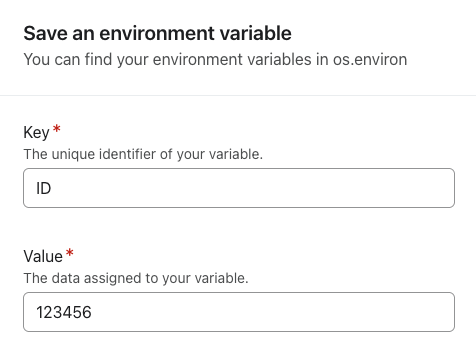
Once created, the environment variables will be listed on the page and can be used in your code.
To access your environment variables in your code, use
os.getenv("Key")for Python, orprocess.env.Keyfor Node.js.
Test output
The Test tab allows you to test your code with recent events to confirm that the output is behaving as expected.
To test your function:
- Click Run Test.
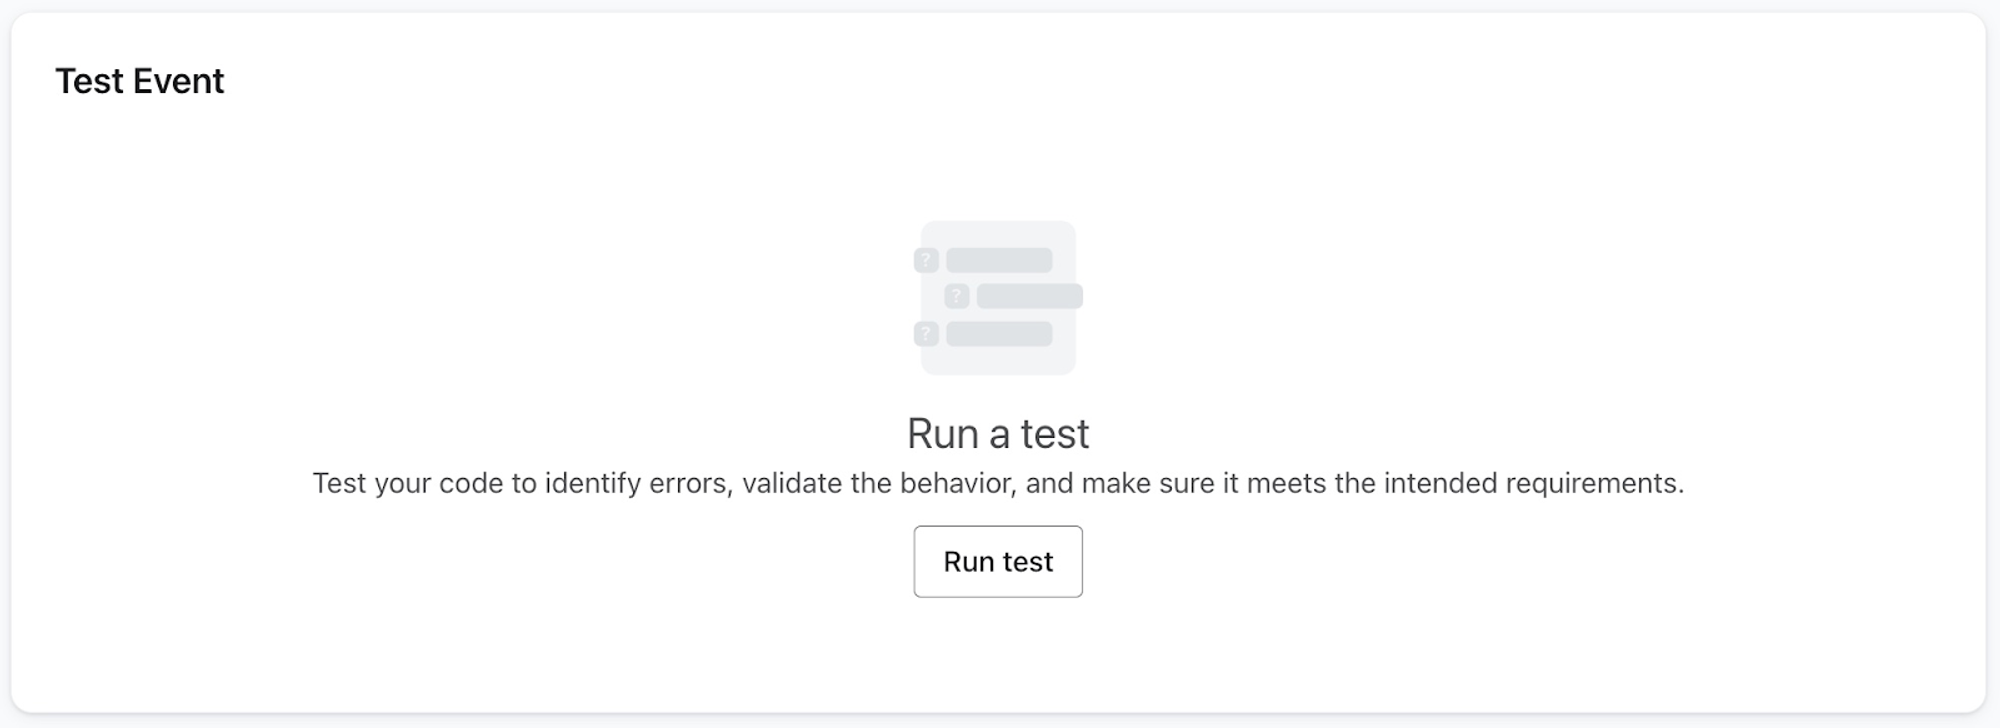
- On the modal that appears, select a profile or event to test with. You can select profiles from the 10 most recent events captured in Klaviyo.
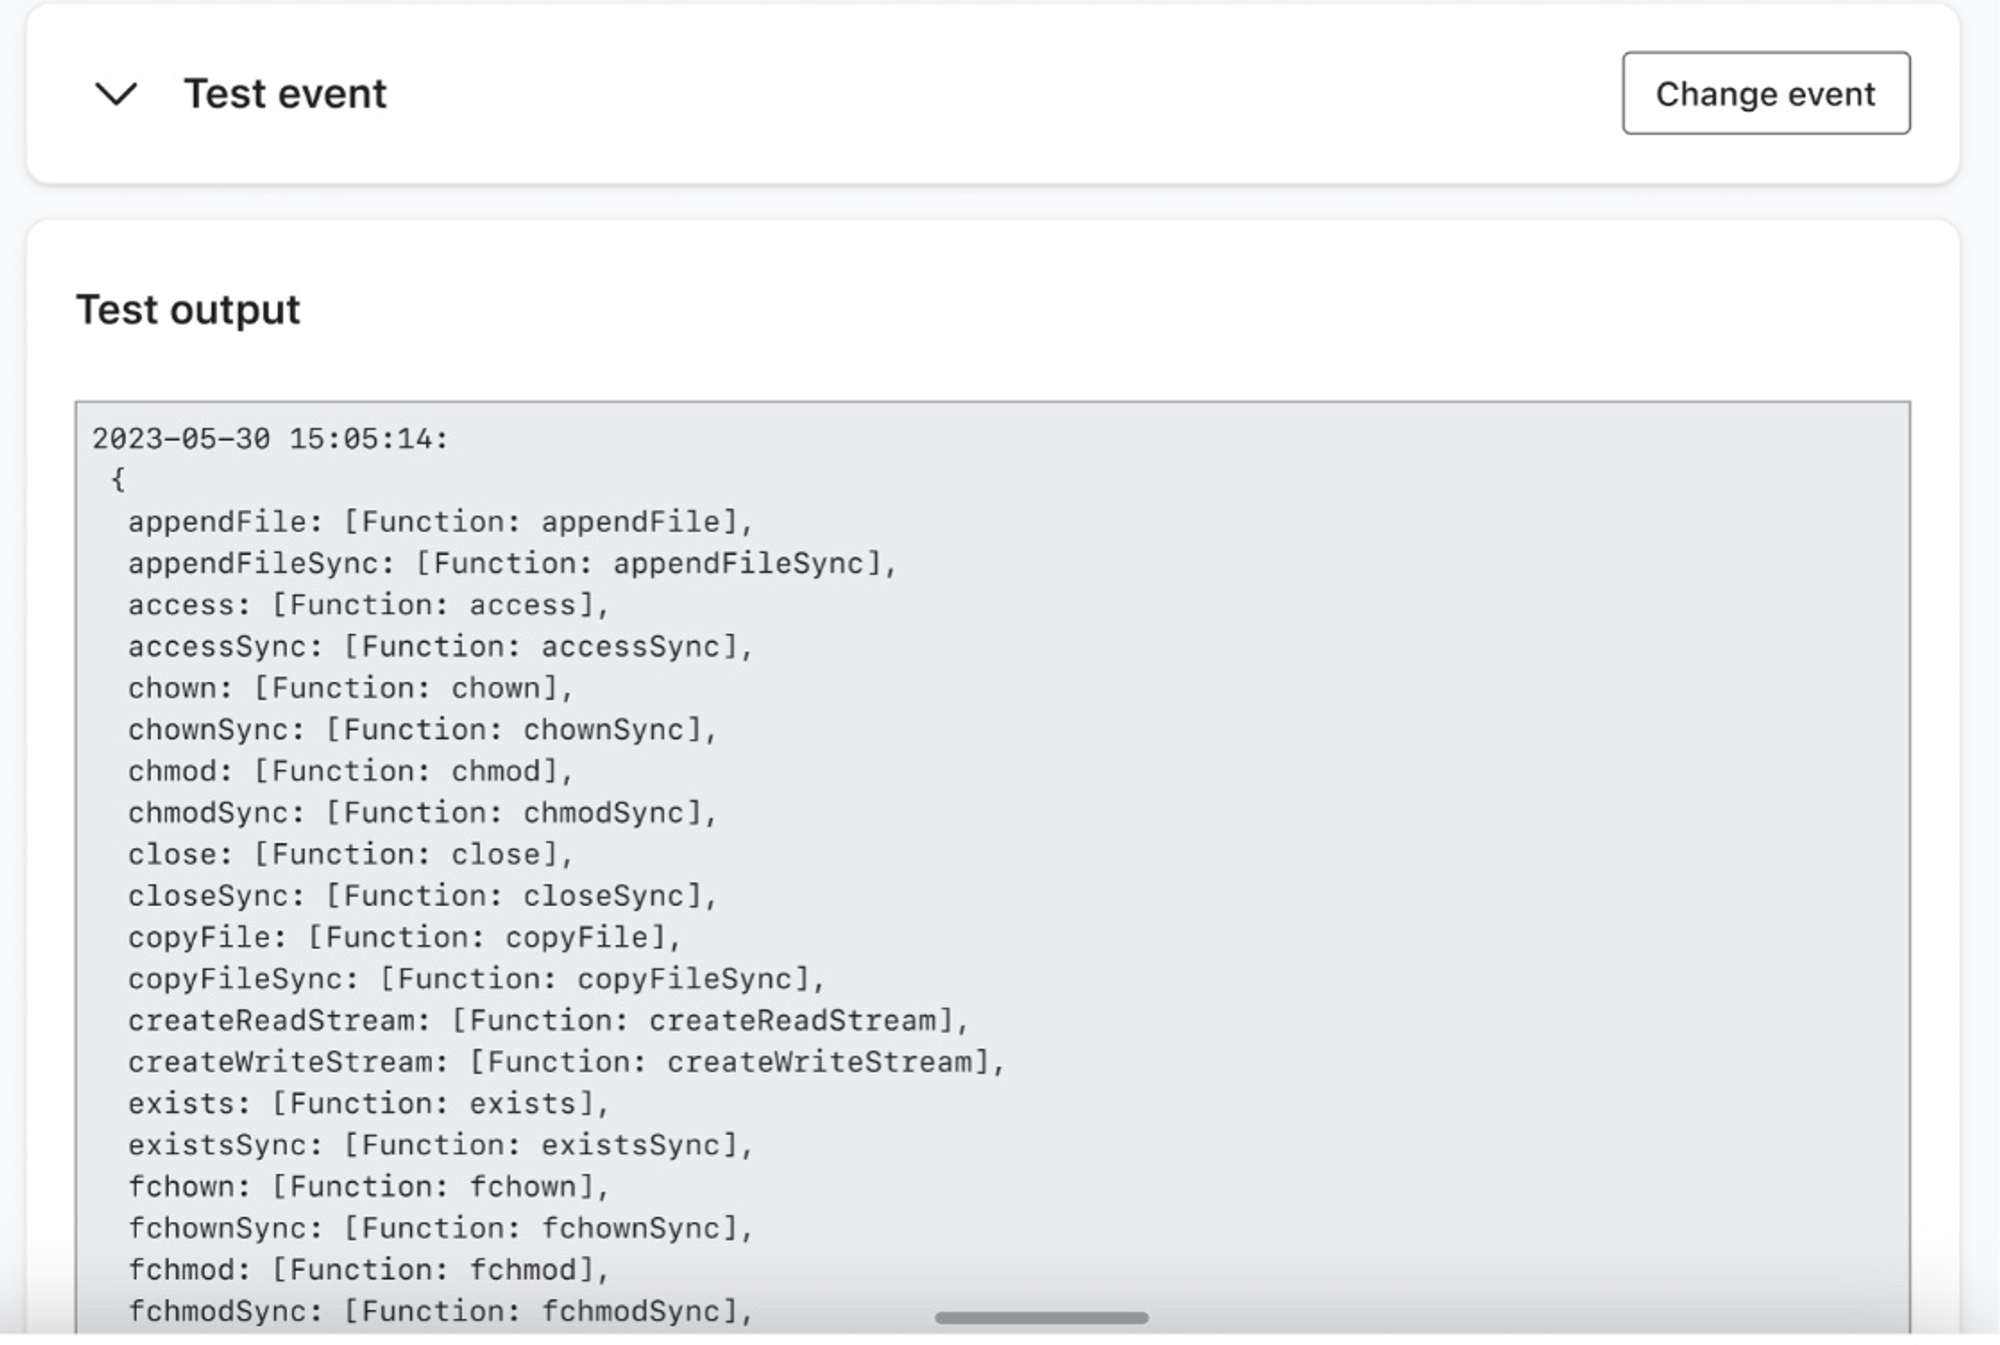
After selecting an event to test with, the test output will be shown.
Returning outputs from a custom action
Take your custom actions to the next level by returning data that can be referenced by downstream actions in your flow. You can create dynamic, personalized experiences by passing custom data from your code directly into your email templates.
Currently, outputs can be used in email actions, with support for profile property updates, SMS, and conditional split actions coming soon.
Here's how to set up and use outputs from your custom actions:
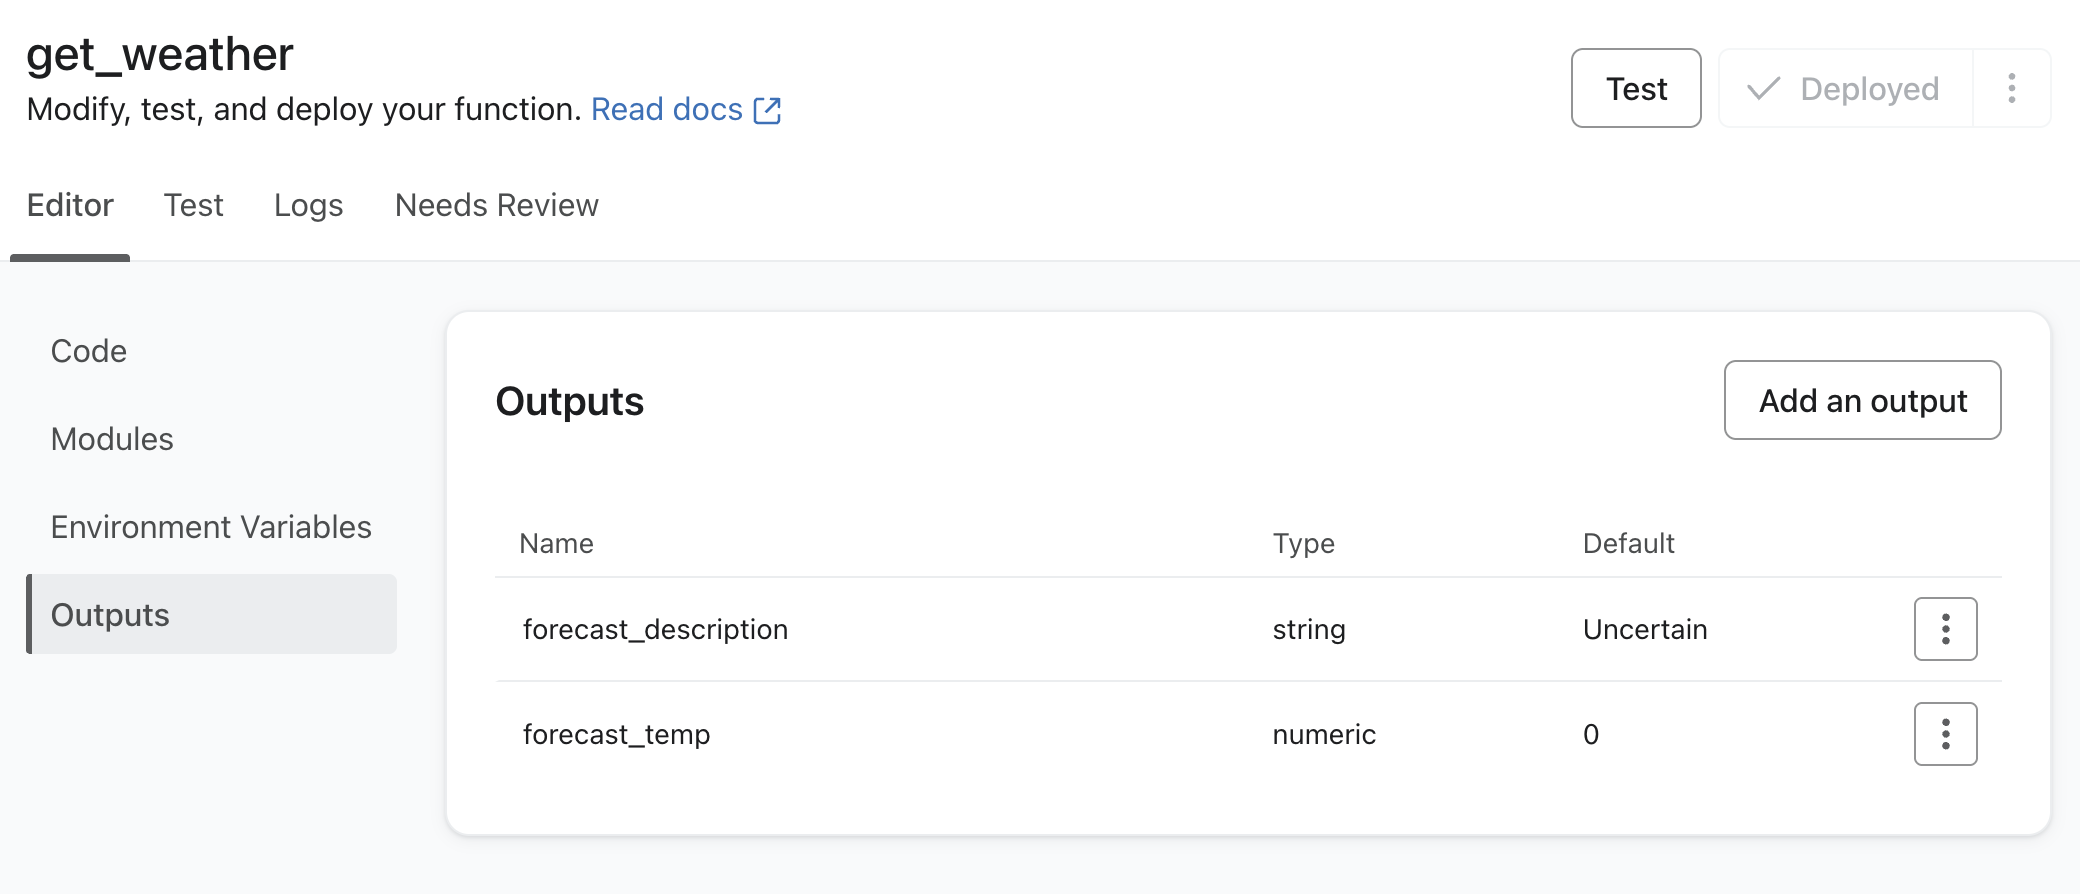
1. Configure your outputs
Navigate to the Outputs tab to add up to 5 outputs that your function will return. Each output must have the following:
- Name: Any combination of characters a-zA-Z0-9_
- Type: One of "string", "number", or "boolean"
- Default value: Used if your function fails to return an output as expected (e.g., if your function throws an error, times out, or returns an output of a different type)
2. Update your handler function
Update your custom action's handler function to return the configured outputs in a dictionary. The dictionary keys should be the names of the outputs you've configured and the values are the outputs themselves.
Python example:
def handler(event, profile, context):
  # do some logic here
  return {
    "forecast_description": "Sunny",
    "forecast_temp": 25
  }
Node.js example:
export default async (event, profile, context) => {
  // do some logic here
  return {
    forecast_description: "Sunny",
    forecast_temp: 25
  }
}
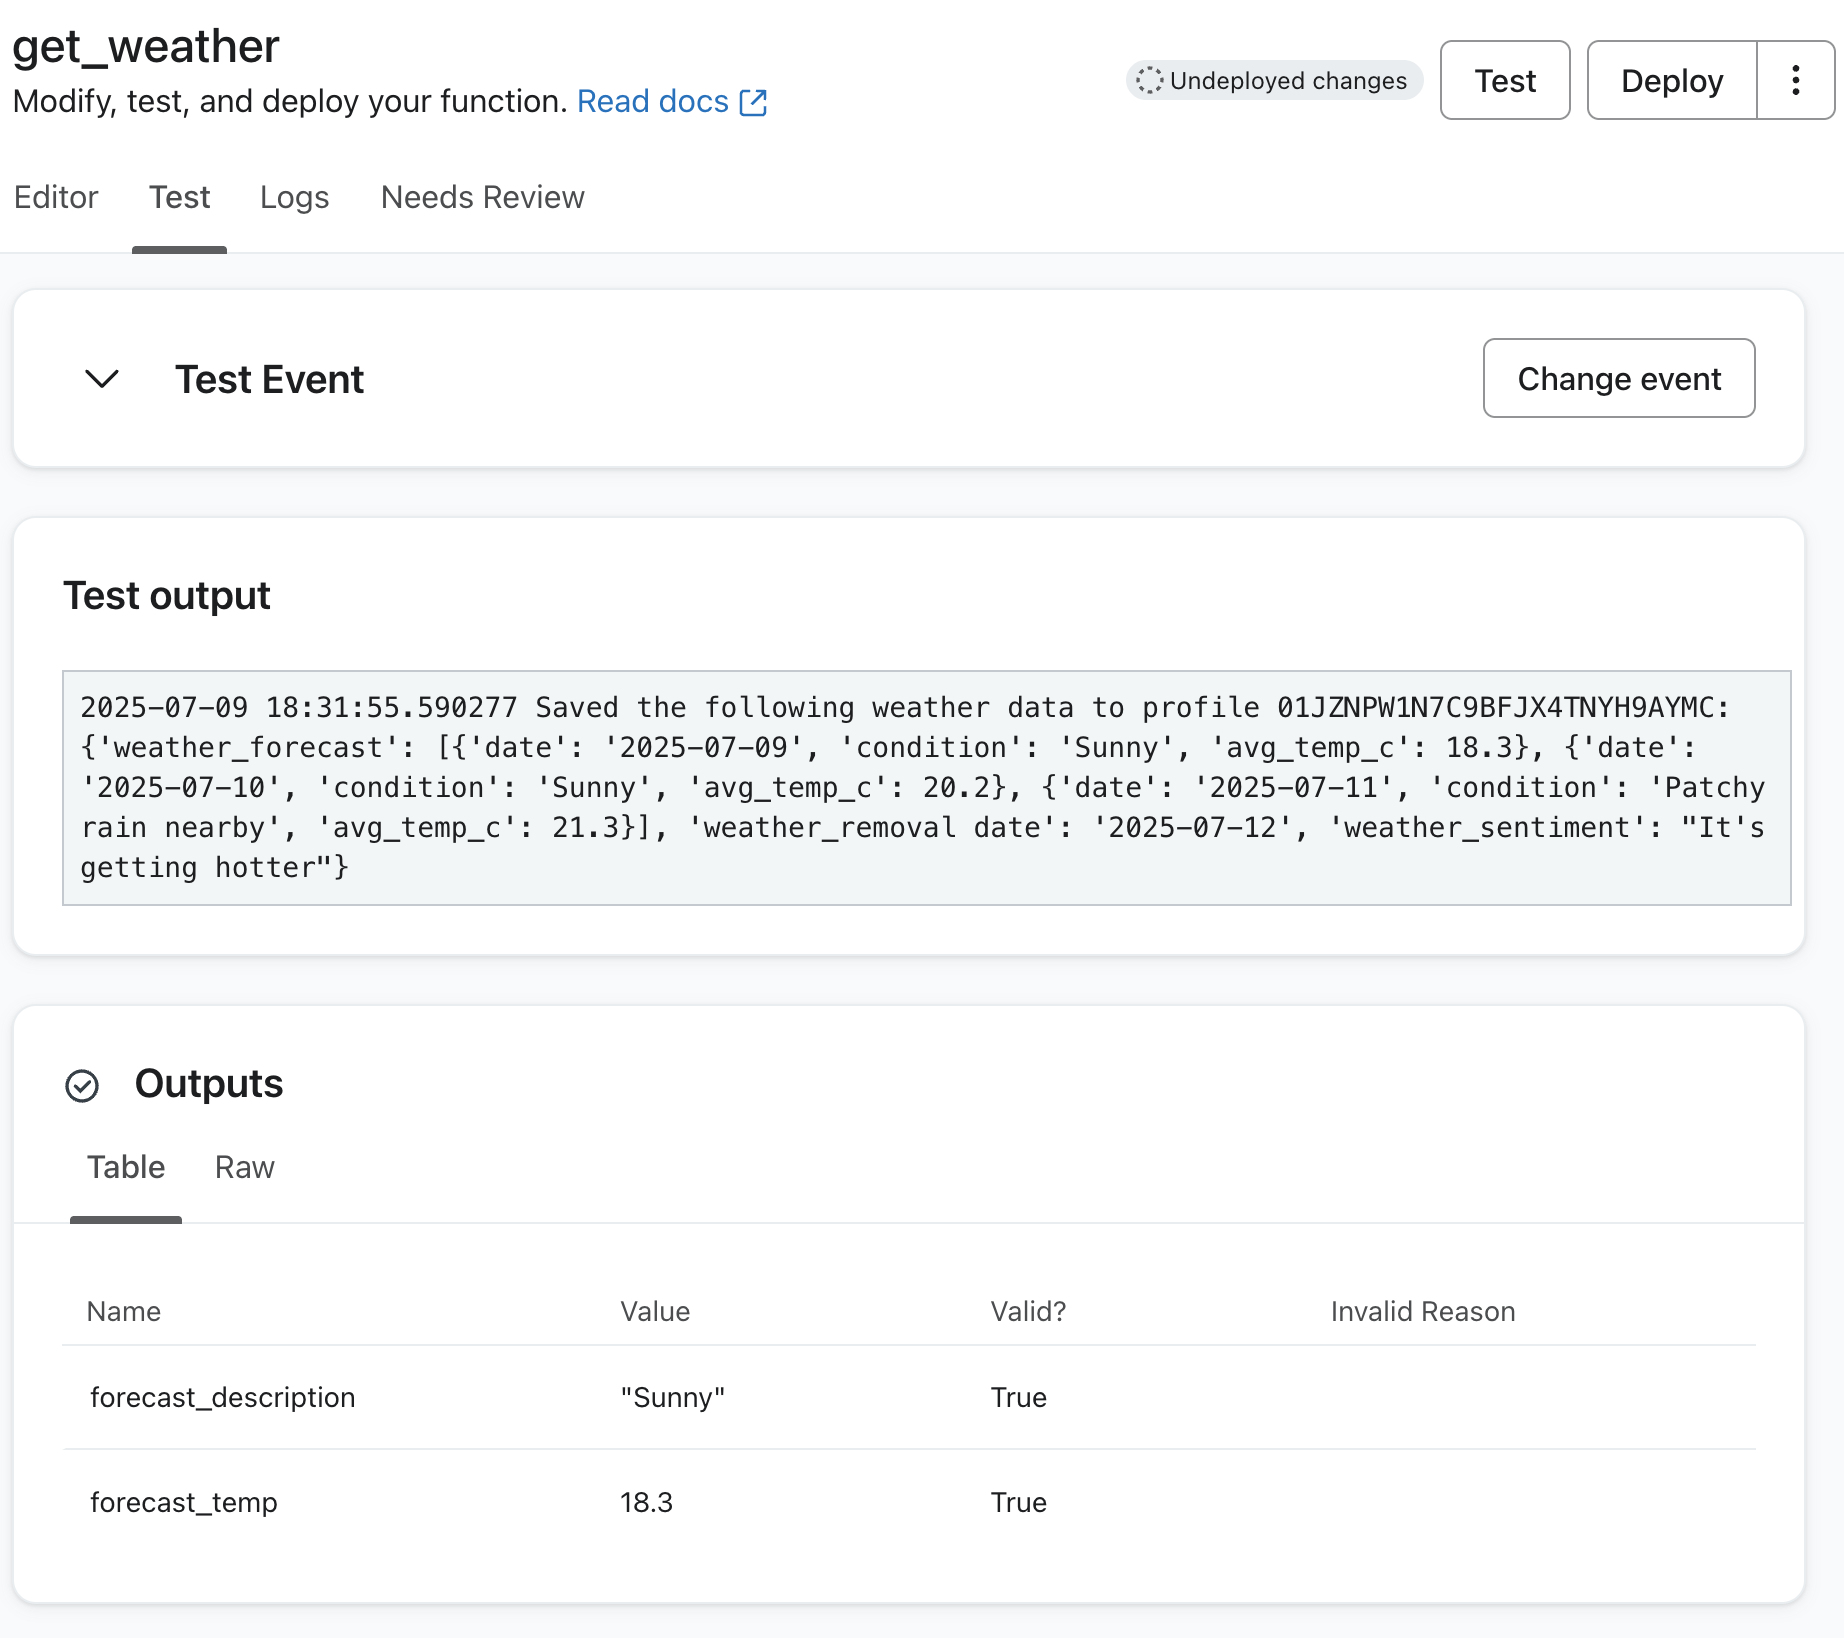
3. Test your function outputs
To check if your function's outputs have been returned as expected, click the Test button in the upper right corner and choose a test event. Along with your function logs, you will be able to see your output data and validity based on your output configurations.
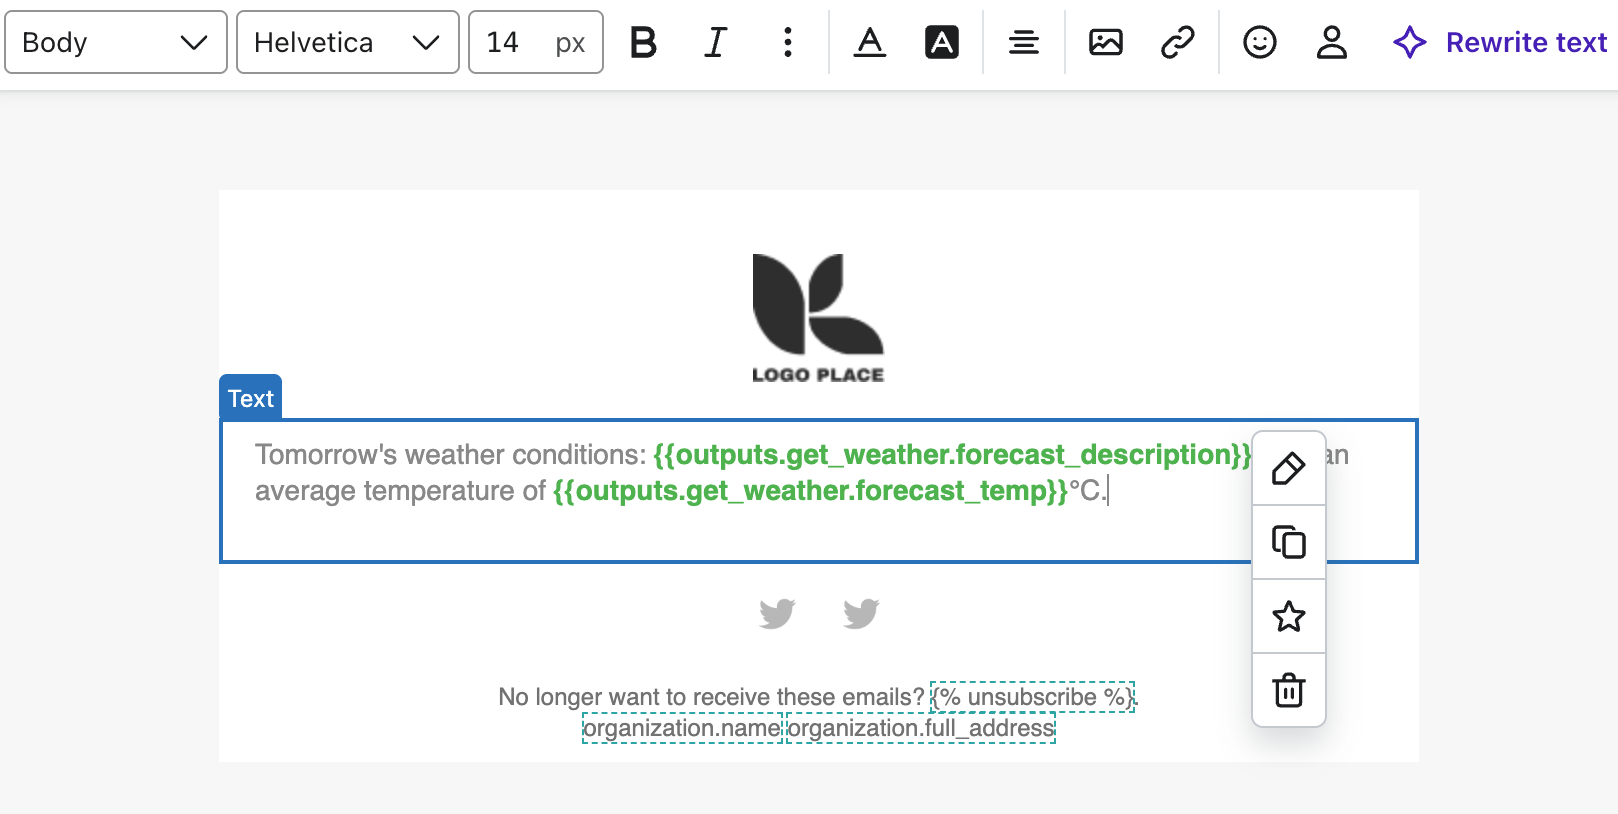
4. Use outputs in your email templates
When your flow evaluates, your function's outputs can be referenced by any downstream email templates in the flow. Outputs are exposed to your email templates as Django template variables using the syntax {{outputs.<action_name>.<output_name>}}.
For example, if a custom action called "get_weather" returns an output called "forecast_temp", it can be used in a downstream email template via {{outputs.get_weather.forecast_temp}}.
Output validation and failure behavior
When a custom action with configured outputs is evaluated, the action will fail if the handler function fails to return all of the outputs as they were configured. The function will retry 3 times. If after 3 retries a valid set of outputs was still not returned, the configured "default_value" will be used for any outputs that were invalid.
Logs
The Logs tab shows the health of the currently viewed action. You’ll see:
-
Profile
The email address of the profile associated with the given function execution. Click the email to navigate to the profile page. -
Status
The progress of a function’s execution. -
Run ID
The unique ID of this function execution. Click the ID to open a side drawer with
additional execution information, such as the function logs. -
Response time
The amount of time it takes for your code to execute in response to an event. -
Date
A timestamp of when the function was executed.
Needs review
If the custom action is set to manual status, profiles will be queued in the Needs Review tab to be manually approved for the code to execute.
Deploy the action and set it live
- In the code editor, click Deploy in the upper right to deploy your local code changes. Any changes will be preserved even if you leave the page, but only deployed changes will be reflected in subsequent flow evaluations. If you chose a prebuilt function and didn’t make any changes, it will automatically be deployed.
- Click Done in the upper right.
- Click on the custom action again in the flow builder.
- In the sidebar, rename the action if desired.
- Click the Status dropdown to change the status from Draft to Manual or Live.
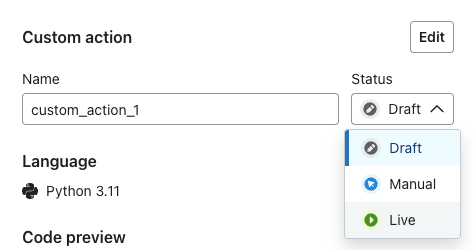
- Click Save.
Limits
- Function timeout:
12seconds - Action rate limit:
10evaluations per second - Custom actions that fail due to a code error or timeout will retry up to 3 times with exponential backoff. The profile will not proceed through the flow until the custom action succeeds or the retry limit is hit.
Additional resources
Updated 3 months ago