Integrate with a Shopify Hydrogen store
Learn how to integrate with a Shopify Hydrogen store, or with any headless Shopify store using a custom storefront
While this guide uses examples for Shopify's Hydrogen framework, the concepts and principles are true for any setup where you are using Shopify to power your ecommerce store’s backend, but have a custom storefront (a “headless” setup). This integration requires 2 main steps:
- Connect your Shopify store via Klaviyo’s native integration to sync order, catalog, and subscriber data
- Manually add code snippets to your site to enable onsite tracking functionality
Key integration components
The key components of integrating this type of ecommerce solution are:
- Customer data
Tracking information such as name, email, phone number, and other profile attributes - Subscribers
Tracking who opts in and to what marketing channel (e.g., your email newsletter subscribers) - Order activity
Tracking when a customer places an order, what products are ordered, etc. - Products
The items in your catalog - Website activity
Tracking who is active on your site, what products they view, etc.
With the exception of website activity, Klaviyo’s native Shopify integration will sync all of the above data for a headless Shopify store because this data is fetched server-side via API.
Additionally, if you don't have redirect rules in place from the myshopify.com domain to your hosted domain, or don't want shoppers to see the myshopify.com domain in Klaviyo emails, you will need to request that Klaviyo support update the product URLs that automatically sync through your catalog. Read the catalog section below to learn more.
Connect Klaviyo’s native Shopify integration
The first step is to integrate your Shopify store via Klaviyo’s native integration.
- In Klaviyo, navigate to the Integrations tab and search for Shopify
- Click Add Integration to view the integration settings page
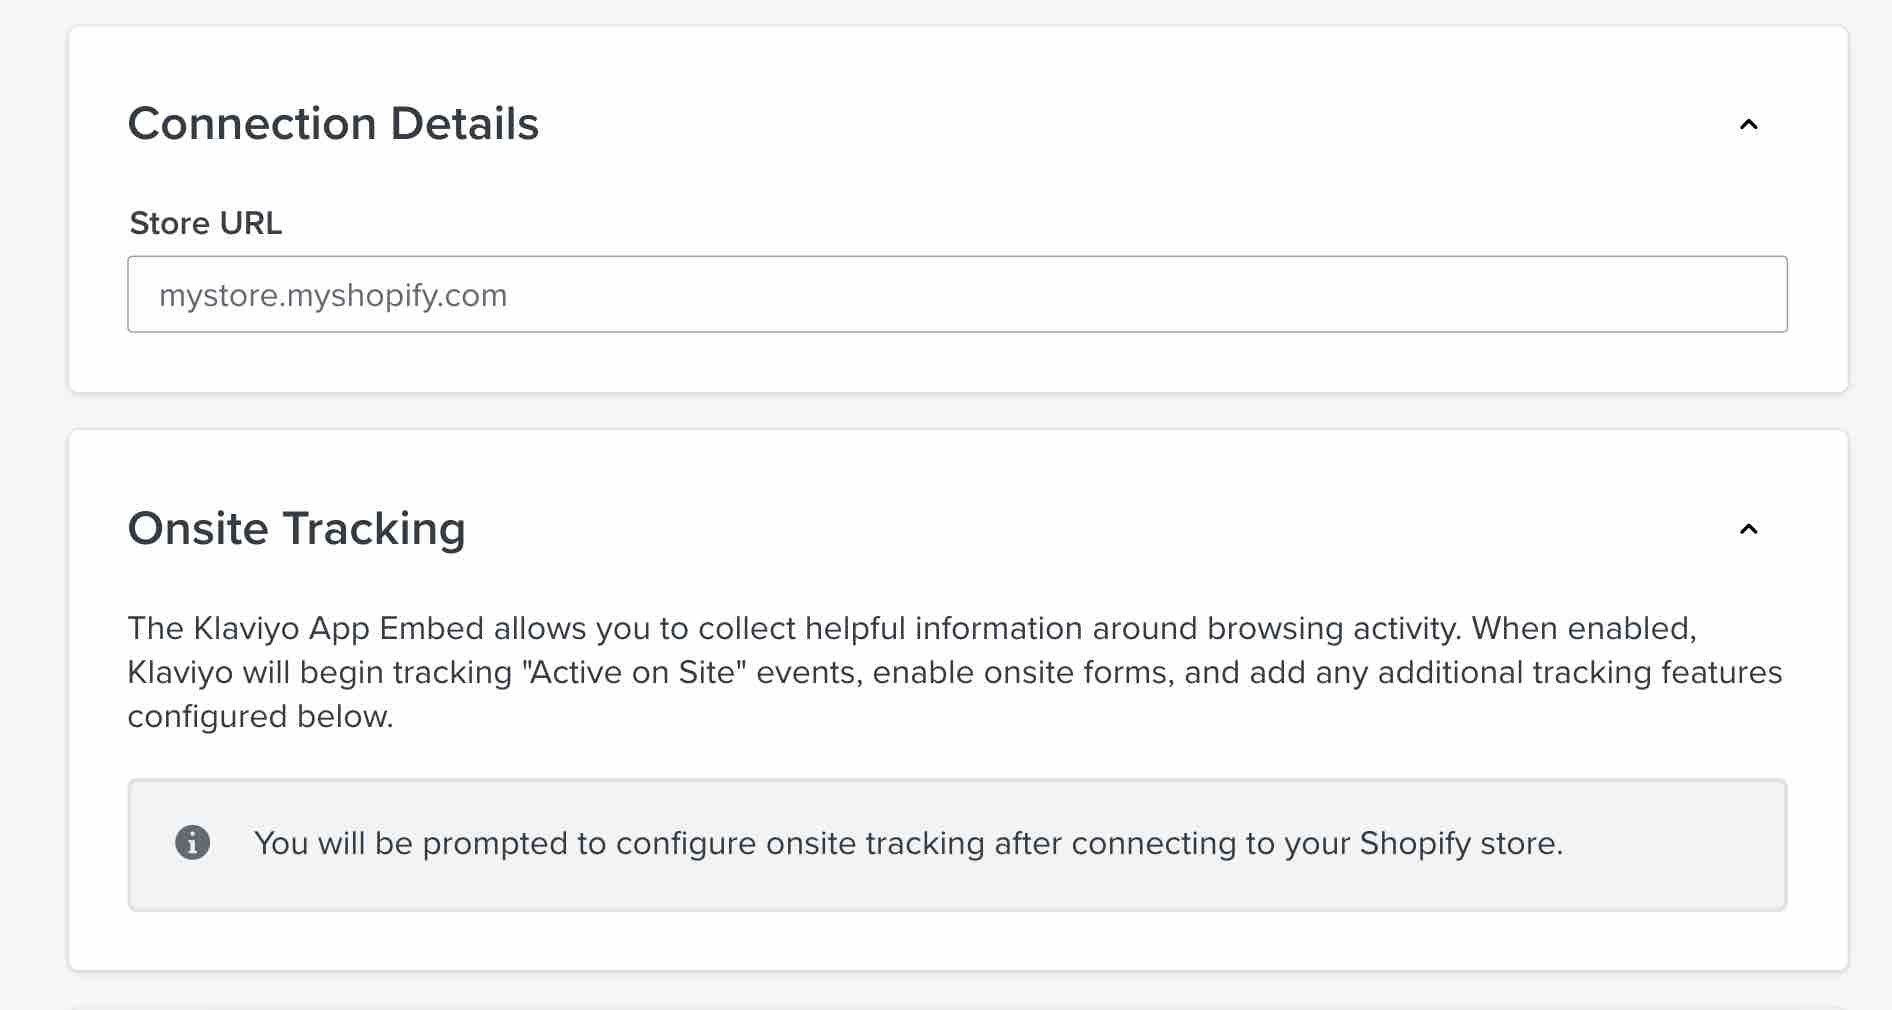
- Fill out the Shopify integration settings:
a. Enter your Shopify Store URL in the format mystore.myshopify.com
b. Ignore the Onsite Tracking box and its status; you’ll add onsite tracking manually later
c. Check Collect email subscribers and select a list from the dropdown if you want to sync email subscribers to Klaviyo
d. Check Collect SMS subscribers and select a list from the dropdown if you want to sync SMS subscribers to Klaviyo
e. Check the box Sync Customer SMS Subscription Status to Shopify (recommended)
f. If you want certain changes in Klaviyo to overwrite Shopify data, check Update Shopify customer profiles with Klaviyo data (this is not recommended) - Click Connect to Shopify to be taken to your Shopify account
- In Shopify, you will be prompted to log in if you have not already done so
- Review the permissions in Shopify and click Install app
A green success callout will indicate that your data is syncing with Klaviyo.
For more information about Klaviyo’s native integration with Shopify, including the email and SMS subscriber sync, check out our article Getting started with Shopify.
Enable onsite tracking
For headless setups, you will need to manually install Klaviyo's “Active on Site” JavaScript (also known as Klaviyo.js). Klaviyo.js tracks when users are active on your site and enables Klaviyo forms.
If you want to track when users view specific products on your site (which can be leveraged in a browse abandonment flow), you’ll need to add Klaviyo’s Viewed Product tracking JavaScript snippet. There is also an accompanying Recently Viewed Items snippet for tracking a user’s recently viewed items.
Below, we provide code snippets for tracking when a user adds an item to their cart (Added to Cart tracking) and when a logged in user is active, if your site has account creation functionality.
Add Active on Site tracking
To publish forms directly from Klaviyo to your site, add the following JavaScript snippet so it appears on every page on your website. With Hydrogen, this can be done via the loadScript function. Make sure to replace PUBLIC_API_KEY with your Klaviyo account's six character public API key.
loadScript("//static.klaviyo.com/onsite/js/klaviyo.js?company_id=${PUBLIC_KEY}").catch(() => {});
Add Viewed Product tracking
If you'd like to set up a browse abandonment flow or build segments based on product browsing activity, you'll need to add JavaScript event tracking for the Viewed Product metric. All Viewed Product metrics are tied to user profiles. On your product page template, add the following snippet.
var _learnq = window._learnq || [];
  var product = {
    Name: payload.title,
    ProductID: payload.product.id.substring(payload.product.id.lastIndexOf('/') + 1),
    Categories:
      payload.product.collections == undefined
        ? null
        : payload.product.collections.edges.map((a) => a.node.title),
    ImageURL: payload.selectedVariant.image.url,
    URL: payload.url,
    Brand: payload.vendor,
    Price: payload.selectedVariant.priceV2.amount,
    CompareAtPrice: payload.selectedVariant.compareAtPriceV2.amount,
  };
  _learnq.push(['track', 'Viewed Product', product]);
Make sure to update the values of the JSON properties in the snippet so that they dynamically pull from the relevant information needed for that property.
Add Recently Viewed Item tracking
Additionally, there is another snippet that allows entries to be added to a “Recently Viewed Items” list for a profile. The following snippet can be added directly below the Viewed Product snippet. For more information on how to use the “Recently Viewed Items” feature in a template, check out our article on inserting recently viewed items into an email.
var _learnq = window._learnq || [];
  var item = {
    Title: payload.title,
    ItemId: payload.product.id.substring(payload.product.id.lastIndexOf('/') + 1),
    Categories:
      payload.collections == undefined
        ? null
        : payload.product.collections.edges.map((a) => a.node.title),
    ImageUrl: payload.selectedVariant.image.url,
    Url: payload.url,
    Metadata: {
      Brand: payload.vendor,
      Price: payload.selectedVariant.priceV2.amount,
      CompareAtPrice: payload.selectedVariant.compareAtPriceV2.amount,
    },
  };
  _learnq.push(['trackViewedItem', item]);
Add Added to Cart tracking
If you’d like to send abandoned cart emails to visitors who add items to their cart, but don’t make it to the checkout page, you’ll need to track an Added to Cart metric. A customer must be identified (i.e., cookied) to track this event. Copy the snippet below and paste it on your product page template to enable Added to Cart tracking.
var _learnq = window._learnq || [];
  var cart = {
    total_price: payload.cart.cost.totalAmount.amount,
    $value: payload.cart.cost.totalAmount.amount,
    original_total_price: payload.cart.cost.subtotalAmount.amount,
    items: payload.cart.lines,
  };
  _learnq.push(['track', 'Added to Cart', cart]);
Track logged-in users
If customers can create accounts on your website, you can add some additional code to identify and track logged-in users. This code should be executed once the user has logged in.
Here is a script template to get you started:
var _learnq = window._learnq || [];
_learnq.push([
  'identify',
  {
    $email: customer.customer.email,
    $first_name: customer.customer.firstName,
    $last_name: customer.customer.lastName,
  },
]);
Update your Shopify catalog URLs
Your Shopify catalog will sync with Klaviyo through the native integration, though the product catalog in Klaviyo will autopopulate with the myshopify.com URL. Contact Klaviyo support to request an update to this setting.
The URL can be updated from:
https://[INSTANCE].myshopify.com/products/[PRODUCT_HANDLE]
to:
https://[STOREFRONT_URL]/products/[PRODUCT_HANDLE]
Example code for Shopify’s demo store template
Klaviyo has provided reference code, based on Shopify’s demo store template, to showcase how to implement the onsite tracking above.
Server-side and onsite metrics
Once you connect your store, the following metrics will sync through Klaviyo’s native Shopify integration:
- Checkout Started
When customers start a checkout and provide their contact information - Placed Order
When an order successfully processes on your system - Ordered Product
An event for each item in a processed order - Fulfilled Order
When an order is sent to the customer - Fulfilled Partial Order
When an order that has been placed is partially fulfilled - Canceled Order
When an order is canceled - Refunded Order
When a customer’s order is refunded
Checkout Started events will sync only if customers enter contact and shipping information on the first page of the checkout process and click continue.
For more information about metrics synced from Shopify and their properties, check out our Shopify data reference.
The following onsite metrics can be tracked in Klaviyo by manually adding code snippets to your site:
- Active on Site
When someone visits your website - Viewed Product
When someone views a product - Recently Viewed Items
Recently viewed items for a specific profile - Added to Cart
When someone adds an item to their cart - Logged in user tracking
Identify and track the activity of logged in users